I know that finding the right pair of hiking boots can be frustrating, especially when ordering them online. It seems that sizes never align, and there’s always a good chance the model you fell in love with simply isn’t cut for your foot.
When I first got into hiking, I wouldn’t even dream of ordering a leather boot online. Mesh was my only choice, as it is a lot more forgiving, especially to wide feet. I went through countless reviews trying to work out whether the hiking shoe or boot I wanted was a good fit for my foot, and for my adventure. Did it have enough support? Was traction good? Would I get wet in those if it rained?
I admit I love researching just as much as I love hiking. But, hey, you don’t always have the time to do both. So this is where this guide comes from: frustration and lack of time. And it’s built to help you choose the right hiking boot, not only mesh trail runners.
Here’s what we’ll cover:
- How to choose hiking boots that match your terrain and your pack weight, before you fall for a model
- Whether you need boots at all, or whether trail runners would serve you better
- What ankle support does, and what it doesn’t
- Where our physical therapist and podiatrist disagree on support, and how to tell which advice fits your feet
- Why sizing is such a mess, with seven pairs of my own as proof
- The one fit test that settles it, in five minutes at home
- What changes when you’re shopping for women’s boots, or for wide, flat or sore feet
- How much boot weight is worth carrying
- When waterproofing helps and when it works against you, and what a PFAS-free label means
- What the materials mean, and how to tell when a boot is finished
What Makes a Good Hiking Boot for the Hiking You Actually Do
Start with your pack and the ground you walk on. Between them, you’ll know which shelf to look at, and you’ll avoid a trap I fell into early on, which was choosing a boot for the hike I imagined instead of the one I had planned.
Most buying guides squash those two things together, even though they don’t always go hand in hand. Carry a heavy pack down a smooth forest trail, and you want something quite different from a day pack on loose rock. So I’ve split them into two dials.
| What You’re Carrying | Smooth, Maintained Trail | Rocky, Rooty, or Loose Ground |
|---|---|---|
| Day pack, under 15 lb6.8 kg | Trail runners | Hiking shoes or a low boot |
| 15 to 30 lb6.8 to 13.6 kg | Hiking shoes | Mid boots |
| Over 30 lb13.6 kg | Mid boots | Backpacking boots |
Find your row, then your column, and buy from that box. If you sit between two, take the sturdier category for your first pair. Within that category, you don’t necessarily need the heaviest or stiffest upper: mesh can still be the better choice if you want a lighter, more forgiving boot.
I deliberately left snow and winter hiking out of that grid. Once you add insulation and traction devices you’re solving a different problem, whatever you happen to be carrying.
If that’s your season, I’ve written separately about which boots handle snow and ice.

Hiking Boots vs. Trail Runners: Do You Need Boots at All?
Not always. On predictable ground with a light pack, trail runners are usually enough.
The long-distance crowd has more or less settled this with their feet. In the 2025 Appalachian Trail thru-hiker survey, 87% wore trail runners for most of their hike, and only 5% finished in boots. People quote those numbers a lot, usually as though they settle the question for everybody.
Those are conditioned feet carrying very light packs over thousands of miles, though. Your first overnight with 35 lb15.9 kg on your back is a completely different thing, and so is a rocky descent in the rain.
After a lot of pairs, I’ve come to pay more attention to the ground than the distance ahead of me. Long gravel approaches, I’m happiest low and light, feeling the trail. The moment the rock turns loose and awkward, I want more structure between me and it.
So use this test. If the ground under you is predictable and your pack is light, go with trail runners and enjoy the weight you save. If you can’t see your footing three steps ahead, get a boot. If you’re genuinely torn, I’ve set out where hiking shoes beat boots and where they don’t.
Low, Mid, or High Cut Hiking Boots?
Here’s where I’d push back on the marketing, because I bought into it for years.
The lab evidence for a high collar is real, and better than I expected when I went looking. A 2026 study in the Annals of Biomedical Engineering put 20 amateur basketball players on a rig that forced the ankle into a 30-degree roll, and found high-top shoes cut the peak rearfoot inversion angle by somewhere between 7.6% and 19.6%, depending on the shoe. So the collar does something measurable.
What that doesn’t establish is whether high collars reduce ankle-sprain rates during hiking. A rig that rolls your ankle on cue is not the same as catching a foot on a root with 30 lb13.6 kg on your back and your legs tired.
The hiking-specific numbers are the ones that changed how I shop, even though there aren’t many of them. A study of 590 members of Hong Kong youth groups, mostly secondary-school students plus their leaders, found that 9.15% had sprained an ankle on hikes, with about half of those sprains happening on scree and about half on downhill slopes, often both at once.
The risk factors they found included being 21 or older, being overweight, being a group leader, hiking more often, a history of ankle sprains or ankle problems, long-term lower-limb injuries, shoes that were the wrong size, laces that weren’t tied properly, and using hiking poles. Once the researchers adjusted for the other factors, a past sprain came out as the strongest.
The authors think the poles finding mostly reflects teenagers who hadn’t learned to use them, and other studies point the other way. What surprised me was that high-top and low-top shoes showed no real difference in sprain rates. It’s one survey of young hikers, so I wouldn’t lean on it too hard, but it’s a good reason to put fit and lacing ahead of collar height.
That doesn’t mean mid boots are pointless, and I still wear mine whenever I’m carrying weight over loose rock. The reasons just have less to do with sprains than the marketing suggests. A higher collar keeps grit and snow out, protects your ankle bones from the occasional rock strike, and gives you useful feedback when the ground is irregular.
So choose your cut for debris, rock strikes and feel. If a taller collar also gives you a bit of inversion control, count that as a bonus.
And if you’ve rolled an ankle before, that history matters more than collar height, which is exactly what the study found. If it still gives way or swells after hikes, have a physical therapist look at it first. Then start with the three-stage progression Britni Barber, PT, DPT, walked us through, and pick hiking boots with ankle support to wear while you work on it.

Trail tips, news and giveaways
One email a month: hiking tips, gear news, giveaways, fresh footwear verdicts and more. No spam, unsubscribe anytime.
Hiking Boot Support: Where Our Own Experts Disagree
Almost every feature a boot is sold on is a support feature. Ankle support, arch support, cushioning, a stiff shank, motion control. So I went back through the guides we’ve published with physical therapists and podiatrists to see what they make of it.
Dr. Ashley Katzenback, PT, DPT, treats footwear as a tool and strengthening as the fix. She leans toward minimal shoes for building foot strength. Her point about cushioning is that thick foam dulls the feedback telling you your feet are tiring, so you keep going and pay for it later.
Podiatrist Maurice Verhagen isn’t buying the lazy-feet argument. He compares orthotics to glasses, in that correcting something doesn’t make it weaker, and for genuinely flat feet or serious overpronation he says the correction is the point.
They’re both right, about different feet, so here’s how I’d sort yours.
If nothing hurts and nothing’s been diagnosed, buy for your terrain and load and stop there. Extra support you don’t need costs you weight and feel, and there’s no good evidence it prevents anything.
If your feet are flat or you overpronate, buy the support or the insole and don’t experiment with minimal shoes on a long hike. Dr. Katzenback’s approach to strengthening flat arches and Verhagen’s case for orthotics are worth reading side by side before you commit either way.
If something hurts right now, get it looked at by a physical therapist or podiatrist first. A supportive shoe buys you comfort while you sort out the cause, and dealing with aching shins turns out to be mostly strength work rather than shopping.
How Should Hiking Boots Fit?
Most of us fit boots standing still in a store, and that’s not a position you spend any time in on the trail. Your weight goes onto the forefoot on a climb, your toes slide forward on a descent, and your feet swell through the day, so a pair that feels right at ten in the morning can turn into a problem by mile ten.
What I aim for is snug through the heel and midfoot, roughly a thumb’s width past the longest toe when I stand on the insole, and no toe contact on the way down.
Treat that toe gap as a starting point and not a rule, since it shifts with your foot shape and how long you’re out.
We have a guide on how a boot should sit on your foot and one on how much space to leave in front of your toes that are very helpful for this part.
That settled, it’s time to look at why ordering online feels like a gamble.
Should Hiking Boots Be a Size Bigger?
Often by half a size, but not always. Your foot shape, the boot’s last and how the boot fits matter more than the number on the box.
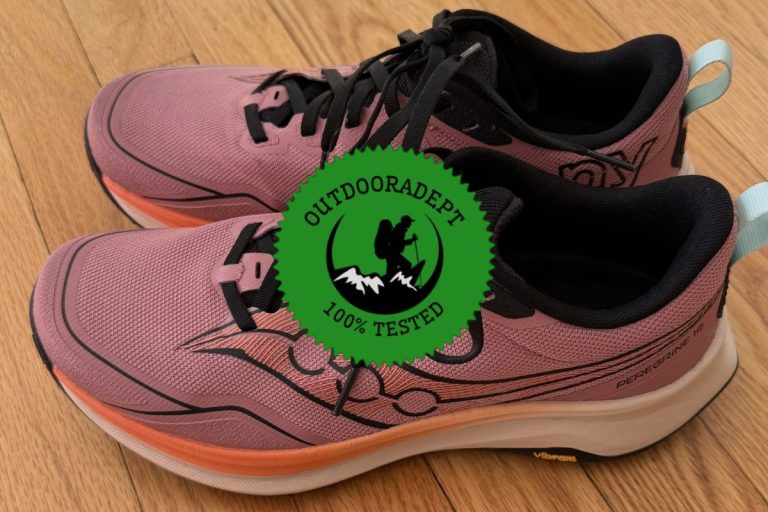
I wear a US women’s 8.5, and my forefoot sits between average and wide, so I’ve spent a few years working out what that means from one brand to the next. Here’s what I ended up hiking in across seven models, so you can see the spread for yourself:
| Model | Type | Size Worn | Sizing | How It Fit |
|---|---|---|---|---|
| KEEN Targhee IV Mid | Mid boot | 8.5 | True | Roomy forefoot, medium heel |
| Lowa Innox Pro GTX Mid | Mid boot | 8.5 | True | Medium width, room to splay |
| HOKA Challenger 8 | Trail runner | 8.5 | True | Roomy toe box |
| Nike Wildhorse 10 | Trail runner | 9 | Half up | Needed extra width |
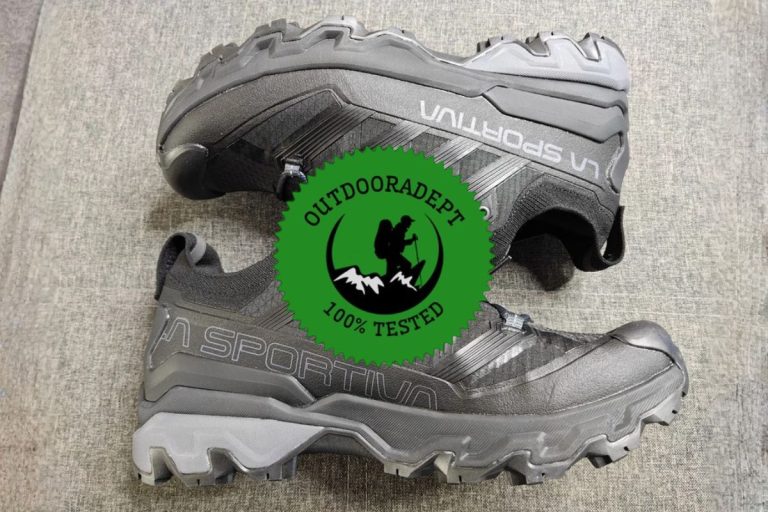
| La Sportiva Ultra Raptor 3 | Low hiking shoe | 9 | Half up | Narrow at true size, fine half up |
| Salewa Wildfire 2 GTX | Approach | 9 | Half up | Narrow toe box even sized up |
| La Sportiva TX Guide | Approach | 9 | Half up | Fine at first, pinched on long descents |
Only two of these are boots, but sizing comes from the brand’s last, and the same lasts turn up across their shoes and boots.
Four of the seven wanted half a size up, while three fit true straight away. That’s one pair of feet across seven models, so read it as a warning about how much brands differ, and don’t use it as a sizing chart.
I went into that hoping for a tidy rule, something like “European brands run small” or “approach shoes run narrow.”
The closest I got was that both approach shoes needed a half size up and both still pinched on long descents. The Salewa did it from the first mile, the TX Guide only after a few hours downhill.
The number inside the boot only tells you length. The shape comes from the last the brand builds on, and that never shows up on a spec sheet.
Do this instead. Treat your everyday size as an opening guess. Order two sizes wherever the return policy allows it, and count the shipping as the cost of getting this right. Then let the test below settle it, and ignore the label.

How to Check Hiking Boot Size Before You Commit
Give this five minutes at home. It’s the step I’d never skip now.
- Pull the insole out and stand on it, heel at the back, and check the gap in front of your longest toe. If your foot spills over the sides at the ball, that boot is too narrow for you and no length adjustment will save it.
- Lace the boot properly and walk down a slope or a flight of stairs. If your toes touch the front, the boot is too short for you, no matter how good it felt standing still. You’ll only find this going downhill.
- Check for heel lift. Run the laces through the top eyelets as a lock, pull your heel back into the cup, and walk a few steps. If the movement stops, you’re fine. If your heel still slides around in there, you’ve got a heel cup shaped wrong for your foot, and lacing won’t fix it.
- Repeat in the other size before you send either pair back.
If the result is borderline, the signs your hiking boots are pinching and the signs you’re swimming in a boot that’s too big should help you call it.
Two things to set up before you start:
- Try boots on late in the day, since your feet swell as you use them and a morning fitting will leave you happy with a boot that turns tight by the end of the day.
- Wear the socks you hike in, too, as a thick wool sock and a thin liner give you two different fits. And if you use orthotics or a replacement insole, put those in first and fit the boot around them.
One more thing on that descent test. Dr. Katzenback points out in the shin splints guide that descending is where your lower leg takes the most punishment. Shortening your stride and landing midfoot eases the load. Worth knowing when you test, and worth doing on the trail.
How to Choose Hiking Boots for Women
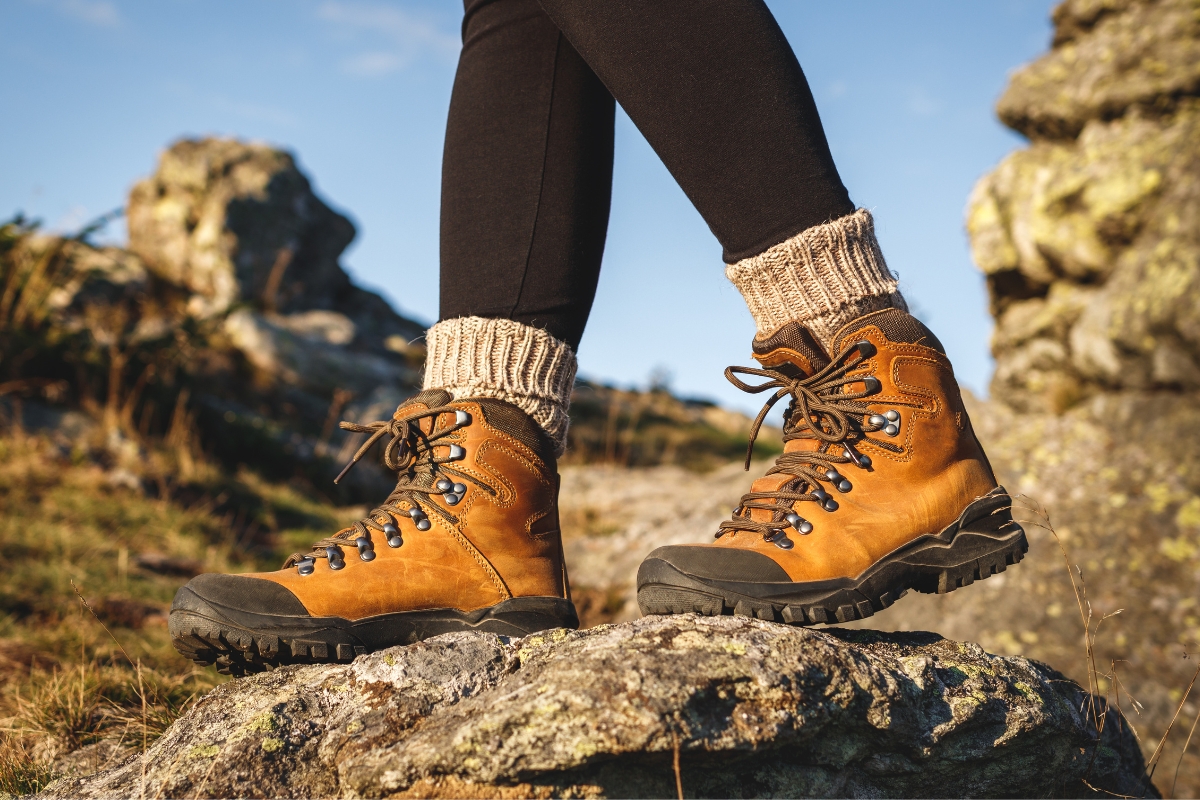
Women’s boots are built on their own last, and a shrunk-down men’s boot is a different thing. Brands grade them differently through the heel, the instep and the ball of the foot, and the amount of difference varies from one manufacturer to the next.
If a women’s boot is too tight across the ball of your foot, try the men’s version, usually about 1.5 sizes below your women’s size. The heel is where that swap tends to fail, since men’s heels run roomier, so check it carefully with the lacing test above. It’s a fair experiment, and it has worked for me several times.
For women’s boots that do fit properly, I’ve pulled together the best hiking boots for women I’ve found on a properly female last.
How to Choose Hiking Boots for Wide, Flat, or Sore Feet
If you’ve got wide feet, you’ve narrowed the field before you even start fitting, and you already know it. Some models offer a true wide SKU, some manage it with a generous last, and plenty do neither.
That’s exactly why sizing up was my only option in the Ultra Raptor 3.
Start with hiking boots cut wide through the forefoot, which is a different thing from a longer boot.
With flat feet or plantar fasciitis, buy the boot second. If it hurts, see a physical therapist or podiatrist, then read our flat feet guide or plantar fasciitis guide, since the boot is one piece of a bigger answer.
Come back for boots that suit flat feet and a collapsed arch or boots that go easy on plantar fasciitis, depending on which you’re dealing with.

How Much Should Hiking Boots Weigh?
You’ve probably met the old line about a pound on your feet being five on your back. I’d hold that loosely, as the numbers behind it come from a handful of small treadmill studies and the ratio moves around with pace and gradient.
What I’d take from it is the direction. Weight on your feet costs you more than the same weight in your pack, and you feel it late in a long day.
As a practical rule, small differences are hard to notice on the trail. Once you’re comparing boots that are around 3.5 oz100 g heavier per shoe, though, I’d take weight into account.
The three below span 8.67 oz246 g to 18.2 oz516 g per shoe, which is roughly the range you’ll meet between a road-to-trail runner and a waterproof mid boot. That’s a category difference rather than a choice you’d agonize over, but it gives you a sense of what each step up the grid costs you underfoot.
That’s also why we weigh the boots we test, instead of taking the figure on the box at face value:
| Model | Stated | Measured | Gap |
|---|---|---|---|
| KEEN Targhee IV Mid, women’s US 8.5, per shoe | 17.3 oz490 g | 18.2 oz516 g | 0.9 oz26 g over |
| Lowa Innox Pro GTX Mid, women’s US 8, per shoe | 13.9 oz395 g | 14.5 oz411 g | 0.6 oz16 g over |
| Altra Experience Wild 3, women’s US 8.5, per shoe | 8.70 oz247 g | 8.67 oz246 g | None worth counting |
The Lowa on the scale is a teammate’s women’s US 8, and she’d already hiked in it, so some of that gap is dirt. The KEEN is the one that stands out, at 0.9 oz26 g over the stated figure per shoe.
One thing to watch when you’re comparing two numbers online. Check which size the brand is quoting. A men’s US 9 and a women’s US 7 are never going to weigh the same, and brands aren’t consistent about telling you which one they used.
Per-shoe weights for everything we test sit in the footwear leaderboard, and you’ll find typical ranges by category in our hiking boot weight guide.
Do You Need Waterproof Hiking Boots?
Cold, wet, shoulder-season hiking is where a membrane earns its place. Wet grass, snowmelt, mud, and drizzle all stay where they belong, and in cold weather that keeps you out of trouble rather than just keeping you comfortable. Go through our waterproof boot guide if you need a boot that handles these conditions well.
Summer is where the decision gets harder. A membrane holds onto sweat that mesh would happily vent, and the same thing happens the moment water comes over the collar, at which point you’re walking in a boot built to hold that water in.
So buy for the conditions you hike in at their worst. In cold, wet or snowy weather, take the membrane. When it’s hot and dry, take mesh and put up with the dust.
What PFAS-Free Means on a Hiking Boot Label
You’ll see this on almost every box now, and when the labels started appearing I wondered whether the waterproofing had been compromised to get there. The tag describes the chemistry of the membrane and the water-repellent finish, and it says nothing about how well either one works.
France banned PFAS in consumer clothing, footwear, and the waterproofing agents sold for them from January 2026 (law no. 2025-188). An implementing decree sets the exemptions, the residual-concentration thresholds, and a 12-month sell-through for stock made before that date.
Several US states have brought in textile restrictions on staggered timelines, with technical outdoor gear usually phased in later. None of this bans waterproof boots or waterproof membranes. It bans PFAS in them, which is why you’re seeing alternatives like ePE turn up on spec sheets.
In the PFAS-free boots I’ve tested so far, water beads and runs off the finishes the way it did on older ones. I haven’t run them side by side against their own predecessors, so treat that as my experience across a handful of pairs. If the tag is the only thing putting you off a boot, I wouldn’t let it stop you.
What Hiking Boots Are Made Of
Four things account for most of what you’ll feel underfoot, and once you know them a spec sheet stops being a wall of trademarked names. That helps when you’re buying online and can’t pick anything up. Anything I skip over here is in our hiking terms glossary.
Uppers
Leather is the part people agonize over, and I’d spend less energy on it. Full-grain is the toughest of the uppers and asks the most break-in time in return, though how long a boot lasts comes down to construction, care and how fast the outsole and midsole wear out. Nubuck gives you most of that toughness a bit softer from the start.
Synthetics and mesh are the opposite deal, comfortable almost straight away and worn out sooner, and for day hiking I think that’s the better trade. Mesh is where I started, and within whatever category your terrain calls for, it’s still where I’d send you for a first pair.
Midsole
EVA is the light, soft option, and in my experience it gives up some bounce well before the rest of the boot looks worn. PU is heavier and firmer and holds its structure longer under load, which is why it turns up under boots built to carry weight. It has its own weakness, since PU breaks down with age whether you hike in it or leave it in a cupboard.
What I’d hold onto is that a thicker stack isn’t automatically a better boot, and putting a lot of foam between you and the ground costs you something in what you can feel through it.
Shank and Rock Plate
Neither gets much space on a product page, yet they do a lot of the work. A shank is a stiffening insert that limits how far the boot twists. A rock plate sits under the forefoot and spreads out the pressure when you put your weight on something sharp.
Pick a boot up and twist it with your hands before you buy, since under a heavy pack on loose rock you want it to fight back, and on fast smooth trail that stiffness just gets in your way.
Outsole
Lugs are easy to judge from a photo. However, the rubber underneath them isn’t. Deep, widely spaced lugs bite into mud and shed it as you walk. Shallower, tighter ones put more rubber down on smooth, wet rock, where deep lugs can feel vague.
Depth is only part of it, though. The compound, the spacing and the shape of the lug edges all work together, and softer rubber grips wet rock well while wearing away more quickly.
Pick your outsole for the ground you’re on most weekends, and accept it’ll be a compromise the rest of the time.
How Often to Replace Hiking Boots
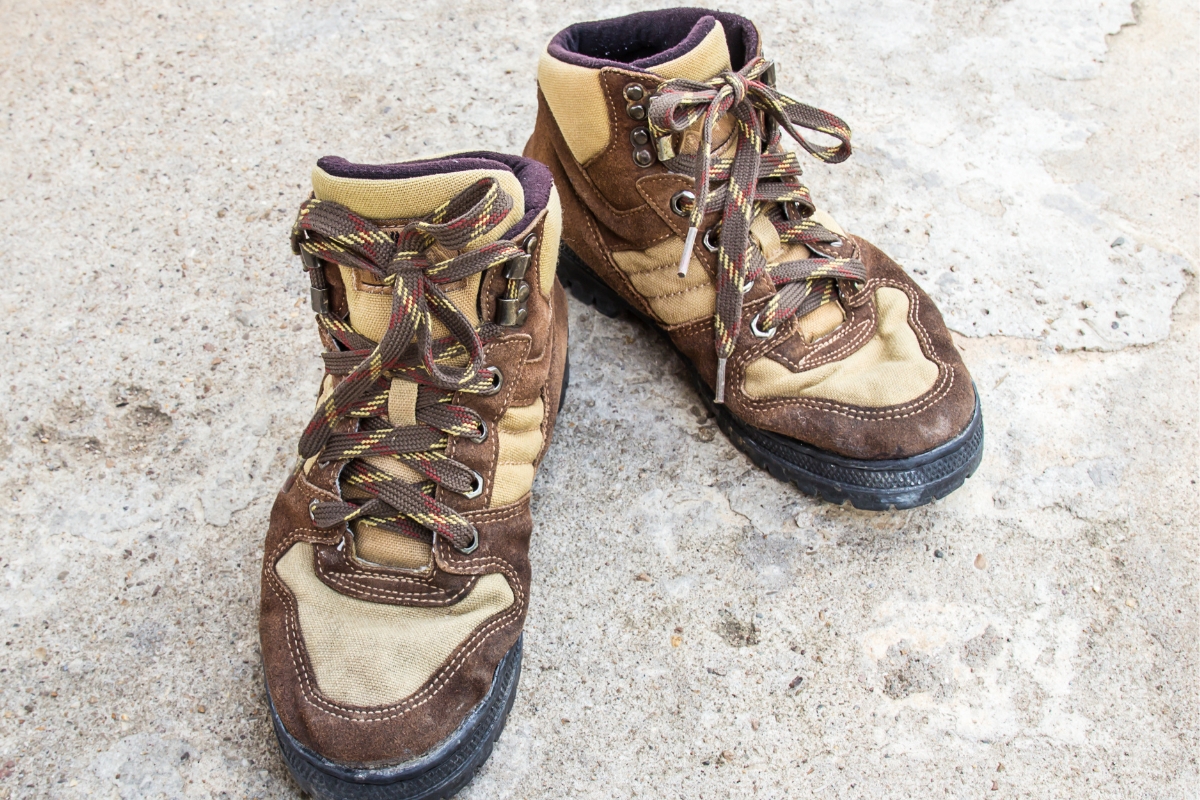
Go by condition, not mileage. The midsole is the one that sneaks up on you, since a boot can look fine while the foam underneath has flattened and stopped doing anything at all. Usually that’s the point where your knees start complaining and you blame the trail.
Every few months, run through these four:
- Press into the midsole with your thumb and look at it side-on for compression lines
- Check the lugs for rounded-off edges
- Squeeze the heel counter and see whether it folds
- Look for cracks where the upper flexes, or seams and the rand lifting away from the sole
Two of those together and the boot has had its life. There’s no mileage deadline worth quoting here, since a hard-used pair might be finished by 400 miles644 km while another is still going well past 800 miles1,287 km.
FAQs
Most synthetic hiking boots break in within two or three walks, though narrow or stiff models can take longer. My Ultra Raptor 3 needed about 15 miles24 km. Full-grain leather usually takes somewhere between 30 and 50 miles48 and 80 km, depending on the boot and on you.
Hiking boots stretch a little across the width, and you shouldn’t expect any meaningful lengthening. Leather molds to your foot over a few weeks of wear, while synthetics barely move. If the width is the problem, easing a tight forefoot at home is worth trying before you send a pair back.
Wear liner socks if you get blisters. The thin inner layer takes the friction instead of your skin. Fit your boots with the full sock combination you plan to hike in. Adding a liner afterwards takes up room you thought you had.
Spend at the lower end of the category your terrain and pack weight call for, then put the difference into socks and insoles. Fit decides whether a boot works, and a mid-priced pair in the right shape will serve you well. By your second pair, you’ll know your feet well enough to spend properly.
Most new boots come with a water-repellent finish applied at the factory, so you don’t need to treat them before the first hike. Check the box if you want to be sure. Re-treat once water stops beading on the upper and starts soaking in.
You can, but a stiff backpacking boot will feel like overkill on pavement. Mid boots and hiking shoes handle daily wear comfortably. Bear in mind that road miles wear the outsole faster than trail miles, so you’ll reach the replacement checks sooner than you expect.