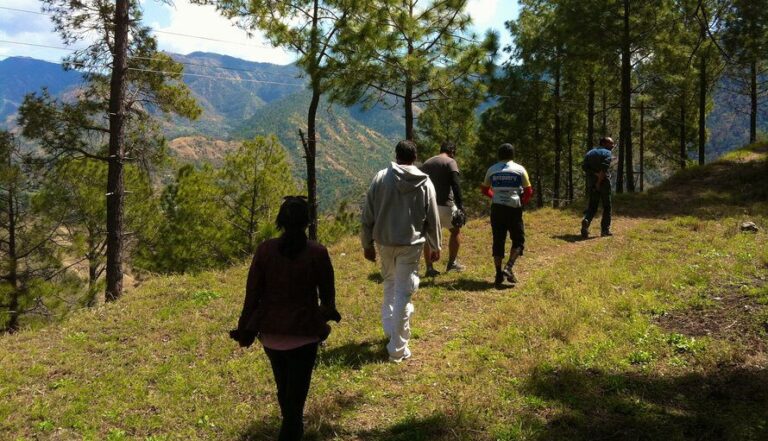
I know a lot of hikers who worry their ankles will get hurt without the right footwear. I used to be one of them.
While trying to find out if ankle support for hiking is a must or not, I asked eight clinicians who treat ankle injuries in active adults whether the boot is really doing the work people think it is.
The short version: it does some of it, but learning how to strengthen ankles for hiking is a much bigger part of the answer than I expected.
So once they had answered my initial questions, I went back and asked the same group to help me put together some training exercises.
I even got a full sequence out of it, designed by Britni Barber, PT, DPT, that takes a hiker from gentle reactivation through to trail-ready capability.
Here’s what this article covers:
- foundation ankle strengthening exercises for hikers to do at home
- a three-stage progression for rebuilding after a sprain or chronic instability
- how to know when you are ready to move up a stage
- when to see a physical therapist or podiatrist
If your ankle pain is sharp, sudden, or you cannot bear weight on it, please see a doctor before trying anything in this guide.
The Specialists Who Contributed to This Article:
Dr. Holly Spohn-Gross, DPM
Dr. Spohn-Gross is a California podiatrist and foot and ankle specialist at Sienna Podiatry, and an ultrarunner who has summited Mt. Whitney and Mt. Fuji.
Damien Howell, PT, DPT, OCS
Damien is a Virginia-based physical therapist with an Orthopedic Clinical Specialist certification, focused on research-driven biomechanics.
Britni Barber, PT, DPT
Britni owns Rise Performance and Physical Therapy in Denver, with a background in orthopedics, sports rehabilitation, and strength and conditioning. She designed the three-stage progression in this guide.
Dr. Jamie Bovay, PT, DPT, CSCS
Dr. Bovay owns KinetikChain Denver and contributed the transition protocol for hikers moving from boots to lighter footwear.
Annika Kariniemi, FNP
Annika is a family nurse practitioner and founder of Activ8 Health, working with active adults on muscle and joint care.
Foundation Ankle Strengthening Exercises for Hikers
The five ankle strengthening exercises in this section are the entry point. They do not require a structured program or a specific timeline. Most hikers can fold them into a regular routine, a few times a week, and see real improvement in how the ankle handles uneven ground.
The focus is on the calves and the small stabilizers around the foot, since those are the muscles doing the most work each time you brake on a descent or recover from an awkward step.
If you are recovering from an injury, the staged progression further down is a better starting point. If your ankles are healthy and you simply want them stronger, the foundation exercises are enough on their own.

Standing Heel Raises
Stand near a counter for balance. Rise onto your toes, then lower slowly. The controlled descent is where strength builds. Three sets of 10 to 15 reps. Progress to single-leg when both feet feel easy.
Damien Howell adds a useful cue on this one. As you rise onto your toes, drive the ball of the big toe firmly into the ground. That pushes the foot and ankle toward pronation and away from inversion, which is the direction most sprains happen in.
If your foot drifts outward as you rise, you are rehearsing that exact pattern. Driving through the big toe keeps your weight on the inside of the foot, where you want it.

Calf and Achilles Wall Stretches
Hands on the wall, one leg back with the heel on the ground, hold for 30 seconds per side. Fine for calf mobility in healthy ankles.
For post-sprain recovery, this one needs a caveat, according to Howell. The ligaments around a recently sprained ankle are often already stretched out from the injury itself, and more stretching does not stabilize them.
For a healthy ankle, wall stretches are fine. For a recently sprained ankle, focus on strengthening instead.

Negative Calf Raises
Stand on a stair with your heels hanging off the back edge. Rise up on both feet, lift one foot off the step, then lower the other foot slowly below the level of the step. This exercise trains the calf to absorb load while lengthening, which is exactly what descents demand.

Foot Rolls
A frozen water bottle or lacrosse ball rolled under the arch feels great and helps loosen tight tissue. These rolls do not build stability, noted Dr. Spohn-Gross. Use them to decrease inflammation and tightness rather than as a strengthening plan.

Squat Jumps
Standard jump squats with controlled landings work once you have built a strength base. If you are starting from scratch, skip this for now and come back to it at Stage 3.
The Three-Stage Sequence
The three-stage progression below was designed by Britni Barber for hikers looking to strengthen their ankles after a sprain and for hikers who have simply never trained their ankles specifically. For broader hiker conditioning beyond the ankle, see our guide on how to get in shape for hiking.
Her rough timing: one to two weeks per stage for hikers with a minor issue and decent baseline strength. Two to four weeks per stage for hikers rebuilding after a more significant sprain or chronic instability.
Stage 1: Foundation
The work here is gentle. After an injury, or after years in supportive footwear, these muscles have gone quiet, and reactivation does not require heavy load.
- Banded ankle inversion. Loop a resistance band around your forefoot and anchor it to the opposite side. Pull the foot inward against the band, then return slowly. Two sets of 15.
- Banded ankle eversion. Same setup, but anchor the band on the same side as the working foot. Push outward against the band. Two sets of 15.
- Arch raises. Sitting or standing, lift the arch of your foot without curling the toes. Hold for 5 seconds. Harder than it sounds on the first try.
- Single-leg calf raises. Same movement as the heel raise above, on one foot. Keep Howell’s big-toe cue in mind.
Stage 2: Multi-Directional Strength
The trail pushes your ankle sideways, twists it, and asks it to brake on downhill steps. Stage 2 trains for all of that.
- Single-leg stance with weight pass. Stand on one foot and pass a 5 to 10 pound weight hand to hand in front of you, over your head, and around your waist. The shifting weight forces your ankle to keep correcting.
- 3-way foot taps (clock taps). Stand on one foot. Tap the other foot to the 12, 3, and 6 o’clock positions without losing balance. Add 9 when the first three feel steady.
- Single-leg sit-to-stand. Sit on a chair and stand up on one foot without using your hands. If this is not accessible yet, spend more time in Stage 1.
I add side lunges with a powerful push-off at this stage, on Dr. Bovay’s recommendation:
“Side lunges with a power push-off strengthen both the lateral shin muscles and lateral ankle ligaments, preparing your feet for the turning and twisting that may happen on rocks or unsteady surfaces. By strengthening these muscles and ligaments, you are less likely to roll an ankle and more likely to control a quick motion or step on a rock that rolls under your feet.”
– Dr. Jamie Bovay
Stage 3: Trail-Ready
By Stage 3, your ankle handles predictable loads without problems. Now the training moves to surprise.
- Single-leg hop variations. Hop forward, backward, and sideways on one foot. Start small with controlled landings. Build reps gradually.
- Foam pad balance. Stand on one foot on a folded towel or foam balance pad. Progress to eyes closed when that feels steady. Progress further by catching a ball while balancing.
- Split-stance isometric hold with heel raise. One foot forward, both heels off the ground, hold for 30 to 60 seconds. This combines strength with position holding.
This is the stage that matches what the ankle faces on the trail: a missed step, a loose rock, a wet root under your forefoot. An ankle that can absorb a small hop onto unstable ground can usually handle those moments.
Readiness Markers for Progressing
Progress by milestones rather than weeks, said Barber. Before moving up a stage, look for:
- Little to no pain or swelling with the current ankle strengthening exercises
- Good control during single-leg balance work
- The ability to keep arch and ankle position stable without the foot collapsing inward
- Confidence with hopping, braking, and uneven-surface tasks
- Longer walks or hikes tolerated without pain or swelling afterward
If some of those are not there yet, stay in the stage a little longer. Otherwise, progressing before you are ready is how setbacks happen.
Trail tips, news and giveaways
One email a month: hiking tips, gear news, giveaways, fresh footwear verdicts and more. No spam, unsubscribe anytime.
Transitioning From Boots to Trail Runners
If you have worn stiff high-tops for years, you cannot swap them for trail runners on a 12-mile day and expect your feet to be happy. Your calves, the connective tissue under your arch (the plantar fascia), and the small muscles inside your foot have all adapted to a specific loading pattern.
A transition protocol that works well came from Dr. Bovay, based on his years with active adults and athletes returning from injury.
Why Trail Runners Make a Good Bridge
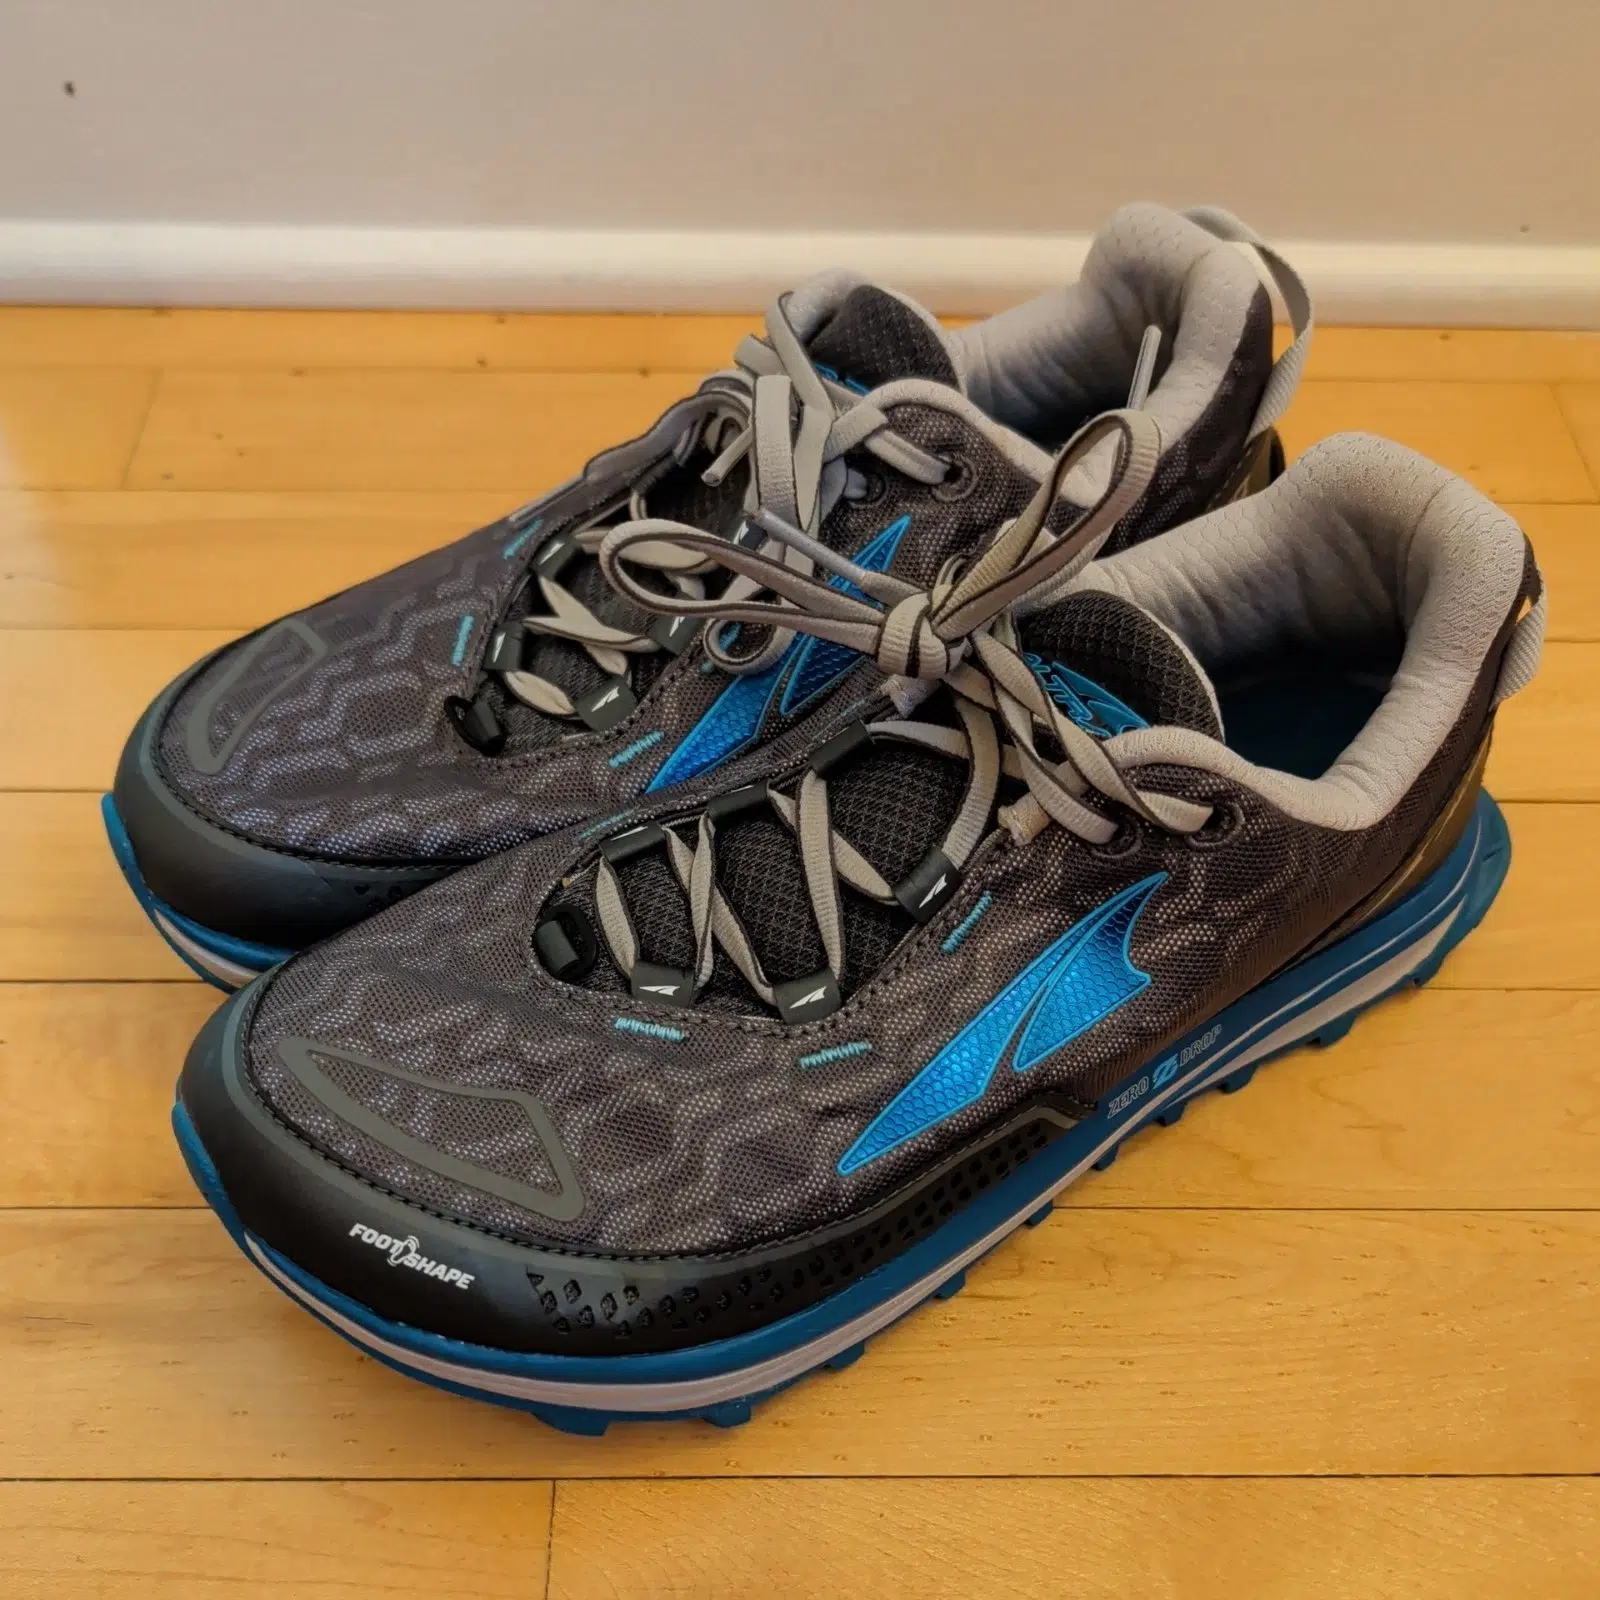
Modern trail running shoes have a stiffer base and more structural support than ordinary running shoes, without the bulk of a hiking boot. That makes them a natural middle step for most hikers moving away from high-tops.
The Transition Protocol
I follow Dr. Bovay’s rule of thumb, which has a couple of numbers to remember:
- On your first long hike in new shoes, cut your usual single-day distance by 50%.
- For the first two to three weeks, reduce your total weekly mileage by 20% to 30%.
- If nothing flares up, ramp back toward your normal volume over the following month.
Your feet need time to adapt to a different loading pattern, and two to three weeks is roughly the minimum for the muscles and connective tissue to catch up.
Capability Beats the Calendar
The decision to reduce footwear support is capability-based rather than time-based, Britni Barber emphasized. If you cannot comfortably do single-leg loading, quick direction changes, and trail-specific balance without pain or the ankle giving way, you are not ready yet. Keep working these ankle strengthening exercises for hikers and try the transition again in a few weeks.
The same capability-based logic applies to knees, which carry their share of the load on descents. See our guide on how to strengthen knees for hiking.

When to See a Physical Therapist or Podiatrist
Some ankle issues respond well to self-management. Others need a professional assessment. A useful list of signals came from Annika Kariniemi:
- The ankle gives way on flat or predictable ground
- Swelling that does not clear between hikes
- Pain that starts changing how you walk
- Sprains that keep happening in the same ankle
- Increasing reliance on external support to feel stable
- Reduced confidence on uneven terrain
Any one of these is worth a visit.
Roughly 10 to 30 percent of acute ankle sprains progress to chronic instability. The lasting effects show up in balance and walking mechanics, and small recurring injuries can limit your hiking over the years, with earlier joint wear as a longer-term cost. A physical therapist can place you accurately within the staged progression above and tailor the work to your situation. They will also catch mechanical issues that no amount of self-directed exercise tends to resolve.
Preparing for a Hike With a Sprain History
Strengthening is the long game, but if you have a trip on the calendar and a sprain history, a few specific preparations help.
Timeline
Four to six weeks before the hike, start the progression above. That is the minimum for meaningful muscle adaptation. Earlier is better, since two full cycles of four to six weeks will get you further than one cycle does.
If your trip is in two weeks, the progression will not deliver in time. Instead, focus on the day-of items below and plan to start the strength work afterward.
Day-of Preparation
I warm up longer in cold weather than I used to. Five to ten minutes of easy walking before any stretching makes a real difference. Cold muscles and tendons are stiff, and stiff ankles are more likely to roll on the first unexpected step, stressing the ligaments that stabilize the joint.
If you are returning to uneven trails after a recent sprain, or the ankle still feels unstable, a functional ankle brace may help while you rebuild strength and control.
Worn under a trail shoe, a brace limits the inward rolling motion that causes sprains without locking up the rest of the ankle. Semirigid designs typically provide more inversion control than softer lace-up or sleeve options.
Use Trekking Poles on Descents
Descents are where rehabilitated ankles tend to struggle. A long downhill under a pack is a heavy demand at the end of a tired day. Poles can transfer some of that load through your arms and give you two extra points of contact with the ground.
If you only use poles on part of the hike, save them for the way down. If pole technique is new to you, our guide on how to use trekking poles covers plant mechanics and grip.
Trail First Aid for Ankles
Here is what I pack in case something goes wrong with an ankle:
- An elastic bandage for field support if needed
- Ibuprofen to take if symptoms appear during the hike, though not preventatively. I’m careful with it, because reducing pain can also make it easier to ignore a worsening injury and keep pushing when I should turn around.
- Extra socks in case your feet get wet and start sliding inside the boot
- A turnaround plan for an ankle that feels off on the ascent, since it will feel worse on the descent
Gear for Ankle Support and Training
I keep two short gear lists for ankle work. One covers what I use during strengthening weeks at home. The other is what goes in my pack on trail days.
Strengthening Phase Equipment
| Item | Our Pick | Why It Works |
| Resistance bands | Light to medium loop bands | For banded inversion, eversion, and Stage 2 lateral work |
| Foam balance pad | Standard closed-cell foam | For Stage 3 single-leg balance progression |
| Massage tool | Lacrosse ball or frozen water bottle | Roll under the arch for recovery, not for strength work |
| Training footwear | Barefoot or minimalist shoes | Optional for some hikers during strength work, introduced gradually |
Hiking Day Equipment
| Item | Our Pick | Why It Works |
| Trail runners | Stiffer-base models | The bridge between boots and lighter shoes. See our trail runners section. |
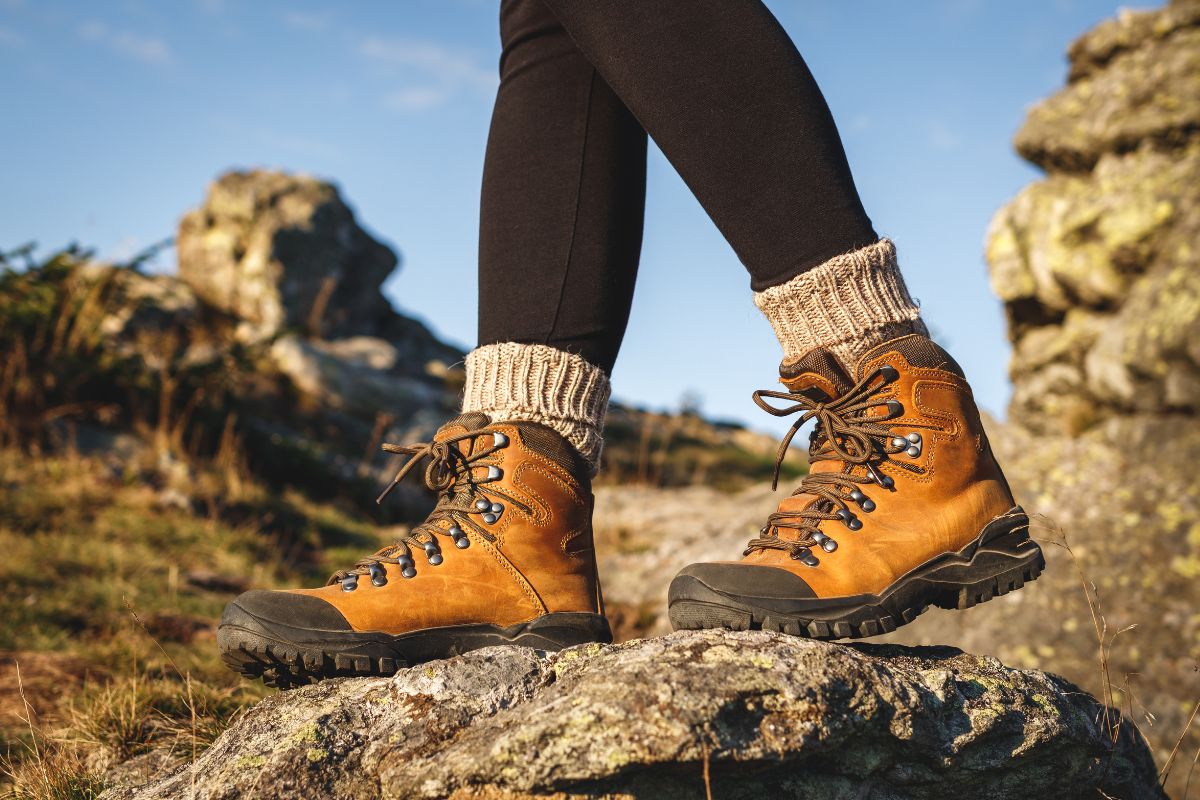
| Supportive boots | See our hiking boots for ankle support roundup | For heavy packs, rough terrain, or post-injury returns |
| Hinged ankle brace | Ultra Ankle Ultra Zoom or similar | Controls inward rolling without locking the full ankle |
| Trekking poles | Any adjustable pair. Check pole height for your build. | For descents under load and post-sprain hikes |
FAQs
Hikers with minor issues typically need four to eight weeks. Hikers rebuilding after a sprain or chronic instability often need eight to sixteen weeks. Progress by milestones rather than weeks.
Mild discomfort during the work that fades quickly afterward is normal. Sharp pain, swelling that gets worse, or pain that lingers past the session is not. Reduce reps or hold off and see a physical therapist before pushing further.
With sincere thanks to Dr. Holly Spohn-Gross, DPM; Damien Howell, PT, DPT, OCS; Britni Barber, PT, DPT; Dr. Jamie Bovay, PT, DPT, CSCS; and Annika Kariniemi, FNP, for contributing their expertise to this article.
This guide is for informational purposes only and is not a substitute for evaluation by a licensed healthcare provider.