
Just as you would never hit the slopes without the right boots, crampons, or your helmet, no mountaineer would ever dream of heading out without a climbing rope. (Sure, you can wear a climbing harness without one, but good luck with fall protection.)
Of course, just having rope on your climb won’t do you much good without mastering these essential mountaineering rope skills. You’ll need to know the different types of knots, belaying and how to use a grigri or other belay device, how to abseil or rappel, attaching rope to a carabiner, and so much more.
But before we take you through each of these skills in turn, you should also know that just reading this guide, however thoroughly, is certainly no substitute for proper mountaineering skills training. You’ll find a lot of handy information here, but you are going to need guidance from certified mountaineering instructors.
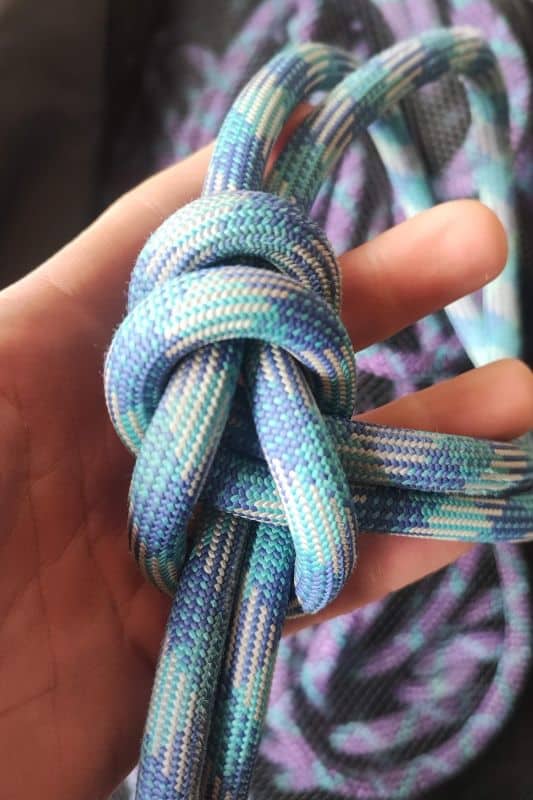
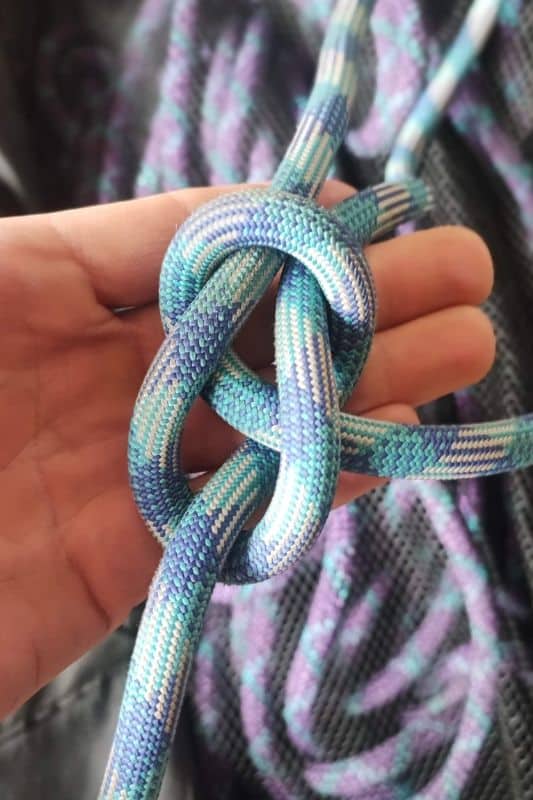
What are the different types of knots?
If you’re just starting out, the number of knots used in mountaineering can be overwhelming, but the good news is that there really aren’t as many as you’d think. The knots that you do need to know how to tie, however, will need to be perfectly tied, as in, even if you’re in a hurry, in the dark, or exhausted. Remember that a slipshod knot can quite literally be fatal.
Click or tap on each knot type in the first column to find a guide for tying it right.
| Knot | What It’s For | Skill Level |
|---|---|---|
| Alpine Butterfly | Tying into the center of a rope | Rope Master |
| Bowline | Tying into a harness (outdated method), tying rope around a tree or similar object | Beginner |
| Bowline on a Bight | Slings, for creating a middle point at an anchor | Rope Master |
| Clove Hitch | Placing belay points | Beginner |
| Double Overhand | Braking to arrest a fall into a crevasse | Rope Master |
| Figure Eight on a Bight | Clipping a rope into something | Beginner |
| Figure Eight Threaded | Tying into a harness | Beginner |
| Girth Hitch | Attaching a personal anchor sling to your harness tie-in points, or tying off natural anchors. | Beginner |
| Italian or Munter Hitch | Belaying | Beginner |
| Mule | Tying off a belay | Intermediate |
| Overhand | Connecting rappelling ropes | Beginner |
| Prusik | Securing abseils and climbing fixed ropes | Intermediate |
| Stopper | Securing a figure eight or bowline knot | Rope Master |
You can find even more types of knots for mountaineering along with tying instructions, here.
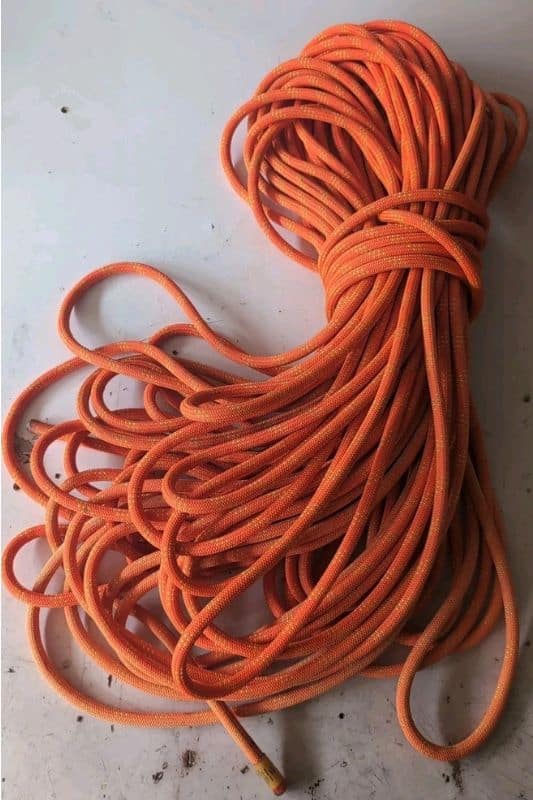
How do you coil a rope?
Knowing how to coil properly makes sure your rope doesn’t get tangled, allows you to store and carry it easily, as well as keep it handy for use. Kinks and tangles not only waste time, but can actually damage your climbing rope, and a damaged rope is the last thing you want to climb with. Look for damaged sections every time you coil a rope, as damaged ropes must be replaced.
Using a rope backpack is a popular solution to increase the lifespan of your rope. It also helps to keep it untangled, but it is another backpack to carry and that isn’t always preferred.
Coiling from the Ends
This is the simplest way to coil a rope.
- From the end of the rope, loop the rope around your hand or shoulder.
- Leave about 6.5 feet2 meters of rope.
- Use the leftover rope to wrap the loops several times.
- Pull a loop through the hole and place it on top of the upper part of the coil.
- Insert the end of the rope through the loop and pull to tighten.
Coiling from the Center
Note that this is often considered the best method.
- Look for the middle of the rope (which should be permanently marked).
- Wrap mirrored loops around your hand, your shoulder, or over your neck.
- Loop from side to side until there’s about 6.5 feet2 meters of rope left.
- Use the leftover rope to wrap the loops several times tightly.
- Pull a bight through the top hole and fold it over the upper part of the coil.
- Pull both ends of the rope tight to lock the coil in place.
Butterfly Coil
This coiling method combines the two.
- Mark a point on the rope about two full arms’ lengths away from the end, from which you stretch the rope out in both hands with arms spread.
- Placing the rope behind your head, rest it on the back of your shoulders.
- Using your neck to mark the middle of the rope, loop the rope behind your head to form loops on both sides until you’ve coiled the entire rope.
- After bringing the coil up and over your head in front of you, use the two full arms’ lengths of rope you saved from step one to wrap and tie the coiled rope.
Check your rope!
It is best practice to check your rope while coiling. The ends of the rope will wear out the fastest, primarily due to the repeated friction of tying in, rubbing against the rock near the tie-in points, and absorbing the force of falls.
Sidenote: This is also why the Figure Eight knot is the preferred standard for tying in: it distributes weight well, absorbs force effectively, and is practically foolproof to visually inspect before leaving the ground.
Two rope safety checks:
- Simply run your hands over the length of the rope while giving it a slight squeeze. Any internal breaks, mushy sections, or flat spots inside the core can be felt easily.
- Another great method is the “pinch test” (folding a small bight of the rope in half). The rope should maintain a rounded curve; if you can pinch it completely flat without much effort, the core is damaged.
If you do find damage near the end of your rope, you can simply cut off the weak section and use a lighter or small fire to seal off the end of the rope. Please remember to take proper measures for the fact that your rope is now shorter.
How do you climb with a rope?
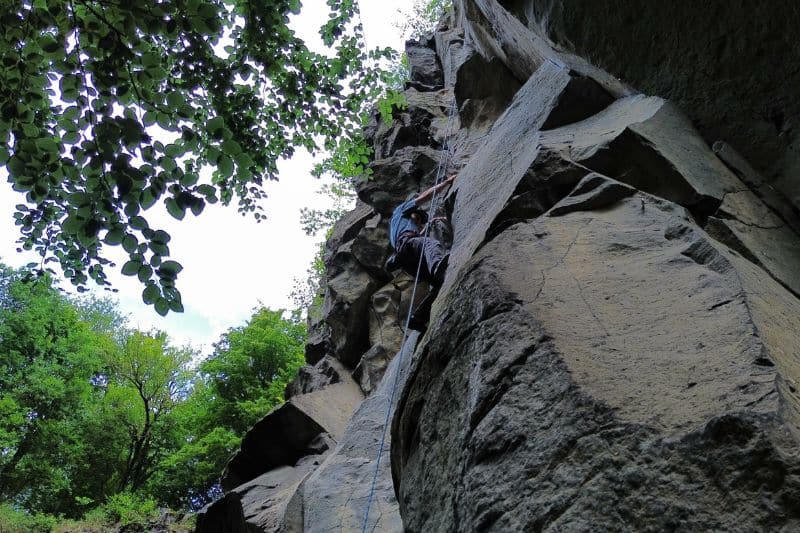
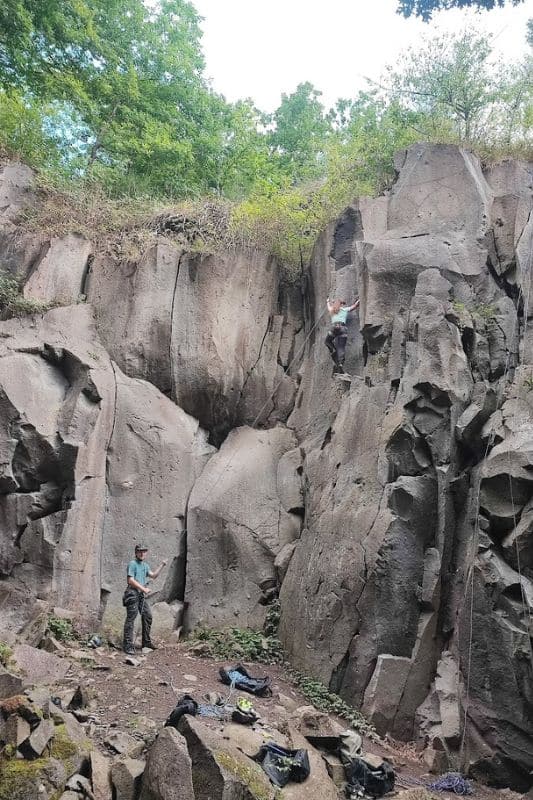
There are many rope climbing techniques which you can learn in indoor or outdoor climbing classes, including top-rope climbing and lead climbing which both make use of existing bolts in the wall.
Advanced mountaineers can go on to learn the rope skills associated with traditional rope climbing or trad climbing, where climbers fix and remove their own protection on their way up, or sport climbing, where the bolts are installed ahead of time.
There’s also fixed-line climbing, where the ropes themselves are attached to the mountain to help mountaineers up (such as when climbing the Himalayas, Denali, or especially steep slopes). This is also called the jumar technique because of the jumar or mechanical ascending device used for climbing the rope.
As the technical details of rock climbing itself are beyond the scope of this article, we will cover this topic in a future post.
What is a belay station?
A belay station is a small ledge or point on the slope or rock face near where your belay anchor, or the main anchor point, will be attached.
The belay anchor is for catching someone in the event of a fall, and so will have to be exponentially stronger than a person’s static body weight. A climber taking a dynamic lead fall can generate forces upwards of 900 to 1,300+ lbs4 to 6 kN of force. You can protect the belay anchor by fixing a solid piece of protection before building other anchors.
Even after you build an entire network of anchors, this main “master point” will be where you attach your personal anchor and where it meets the belay of your fellow mountaineer. Note that your personal tether is only for you and not for holding or catching your teammate.
Attach your personal anchor to your climbing harness by tying a girth hitch to the harness’ tie-in loop, then attach a locking carabiner to the other end of the rope.
See what a belay station looks like and how the belay anchor is built, here.
Anchor Building
There are three types of anchors you can build:
- Fixed anchors such as bolts, pitons, and rings left where you attach them
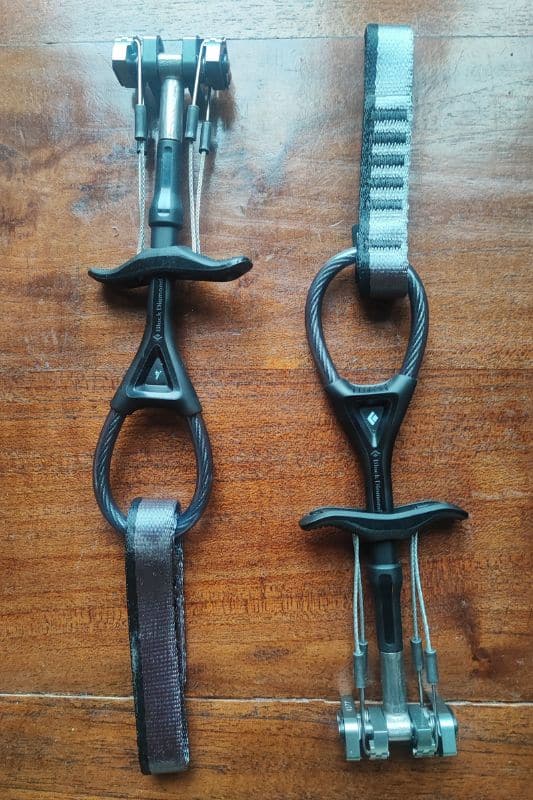
- Removable anchors are bolts, nuts, and cams you take with you as you climb
- Natural anchors such as rocks or live trees that are well-grown and sturdy
The type you use, and ultimately, the system or network of anchors you build will depend on the natural features of the mountain you’re climbing and how your team chooses to belay. Make sure you and your rope are secure before belaying or descending.
How is belaying done?
Like anchor building, the way you belay will depend on your climbing circumstances, and it will be up to you and your team to decide which one of the following methods will best suit your situation.
Anchor Belay
The center of the anchor (which can be a locked carabiner, quick link on the anchor bolt, or a bowline on a bight) holds the belay device, which must be a dynamic device (either ATC or HMS). You will need a strong anchor for this belaying method because that anchor will have to support a fall.
What’s great about an anchor belay is that the belayer is not connected to the belay chain, and that the fall distance and braking distance will be smaller. A smaller braking distance will mean, however, that a falling mountaineer could hit the side of the climbing surface a lot harder.
Body Belay
Clipped onto the belay ring of the climbing harness, the belayer is connected to the belay chain. That means the belayer can be yanked upwards if the climber falls, and that the fall distance and braking distance will be greater. For safety, you should only do body belaying if:
- Your weight and the climber’s weight are more or less the same.
- You have enough experience with this kind of belay.
- Fall tension is vertical and not horizontal.
- If the belayer is pulled upwards, there’s no overhang to bump into.
- There’s enough braking space.
- The personal anchor sling is long enough.
- The bolts or protection points are secure and well-spaced out (about 10 to 16 feet3 to 5 meters apart).
Central Point Belay
This belaying method places the belay between the body and the anchor. Mountaineers will use this method if the climber is using traditional, removable gear for anchors, or there aren’t any bolts or sturdy anchors at the belay.
By using a girth hitch with a carabiner as a central point, connect two to five anchors to be able to collectively and simultaneously catch a fall. If any of the anchors fail, there won’t be any jolting.
Don’t brace or reinforce the central point, because the belayer might crash into the rock face if the belay gives. If the central point has to be braced, be aware that the belayer could be yanked upward.
Running Belay
A running belay enables a team to move together while the rope is attached to snow anchors to catch the team in case they fall. The first person on the rope positions a snow anchor and clips the rope to a carabiner attached to a sling. The middle person on the rope unclips the rope while passing it and clips it back after passing. The last person takes the anchor out and stows it.
If conditions aren’t safe enough for a running belay, each person on the team will have to belay individually.
How do you belay safely?
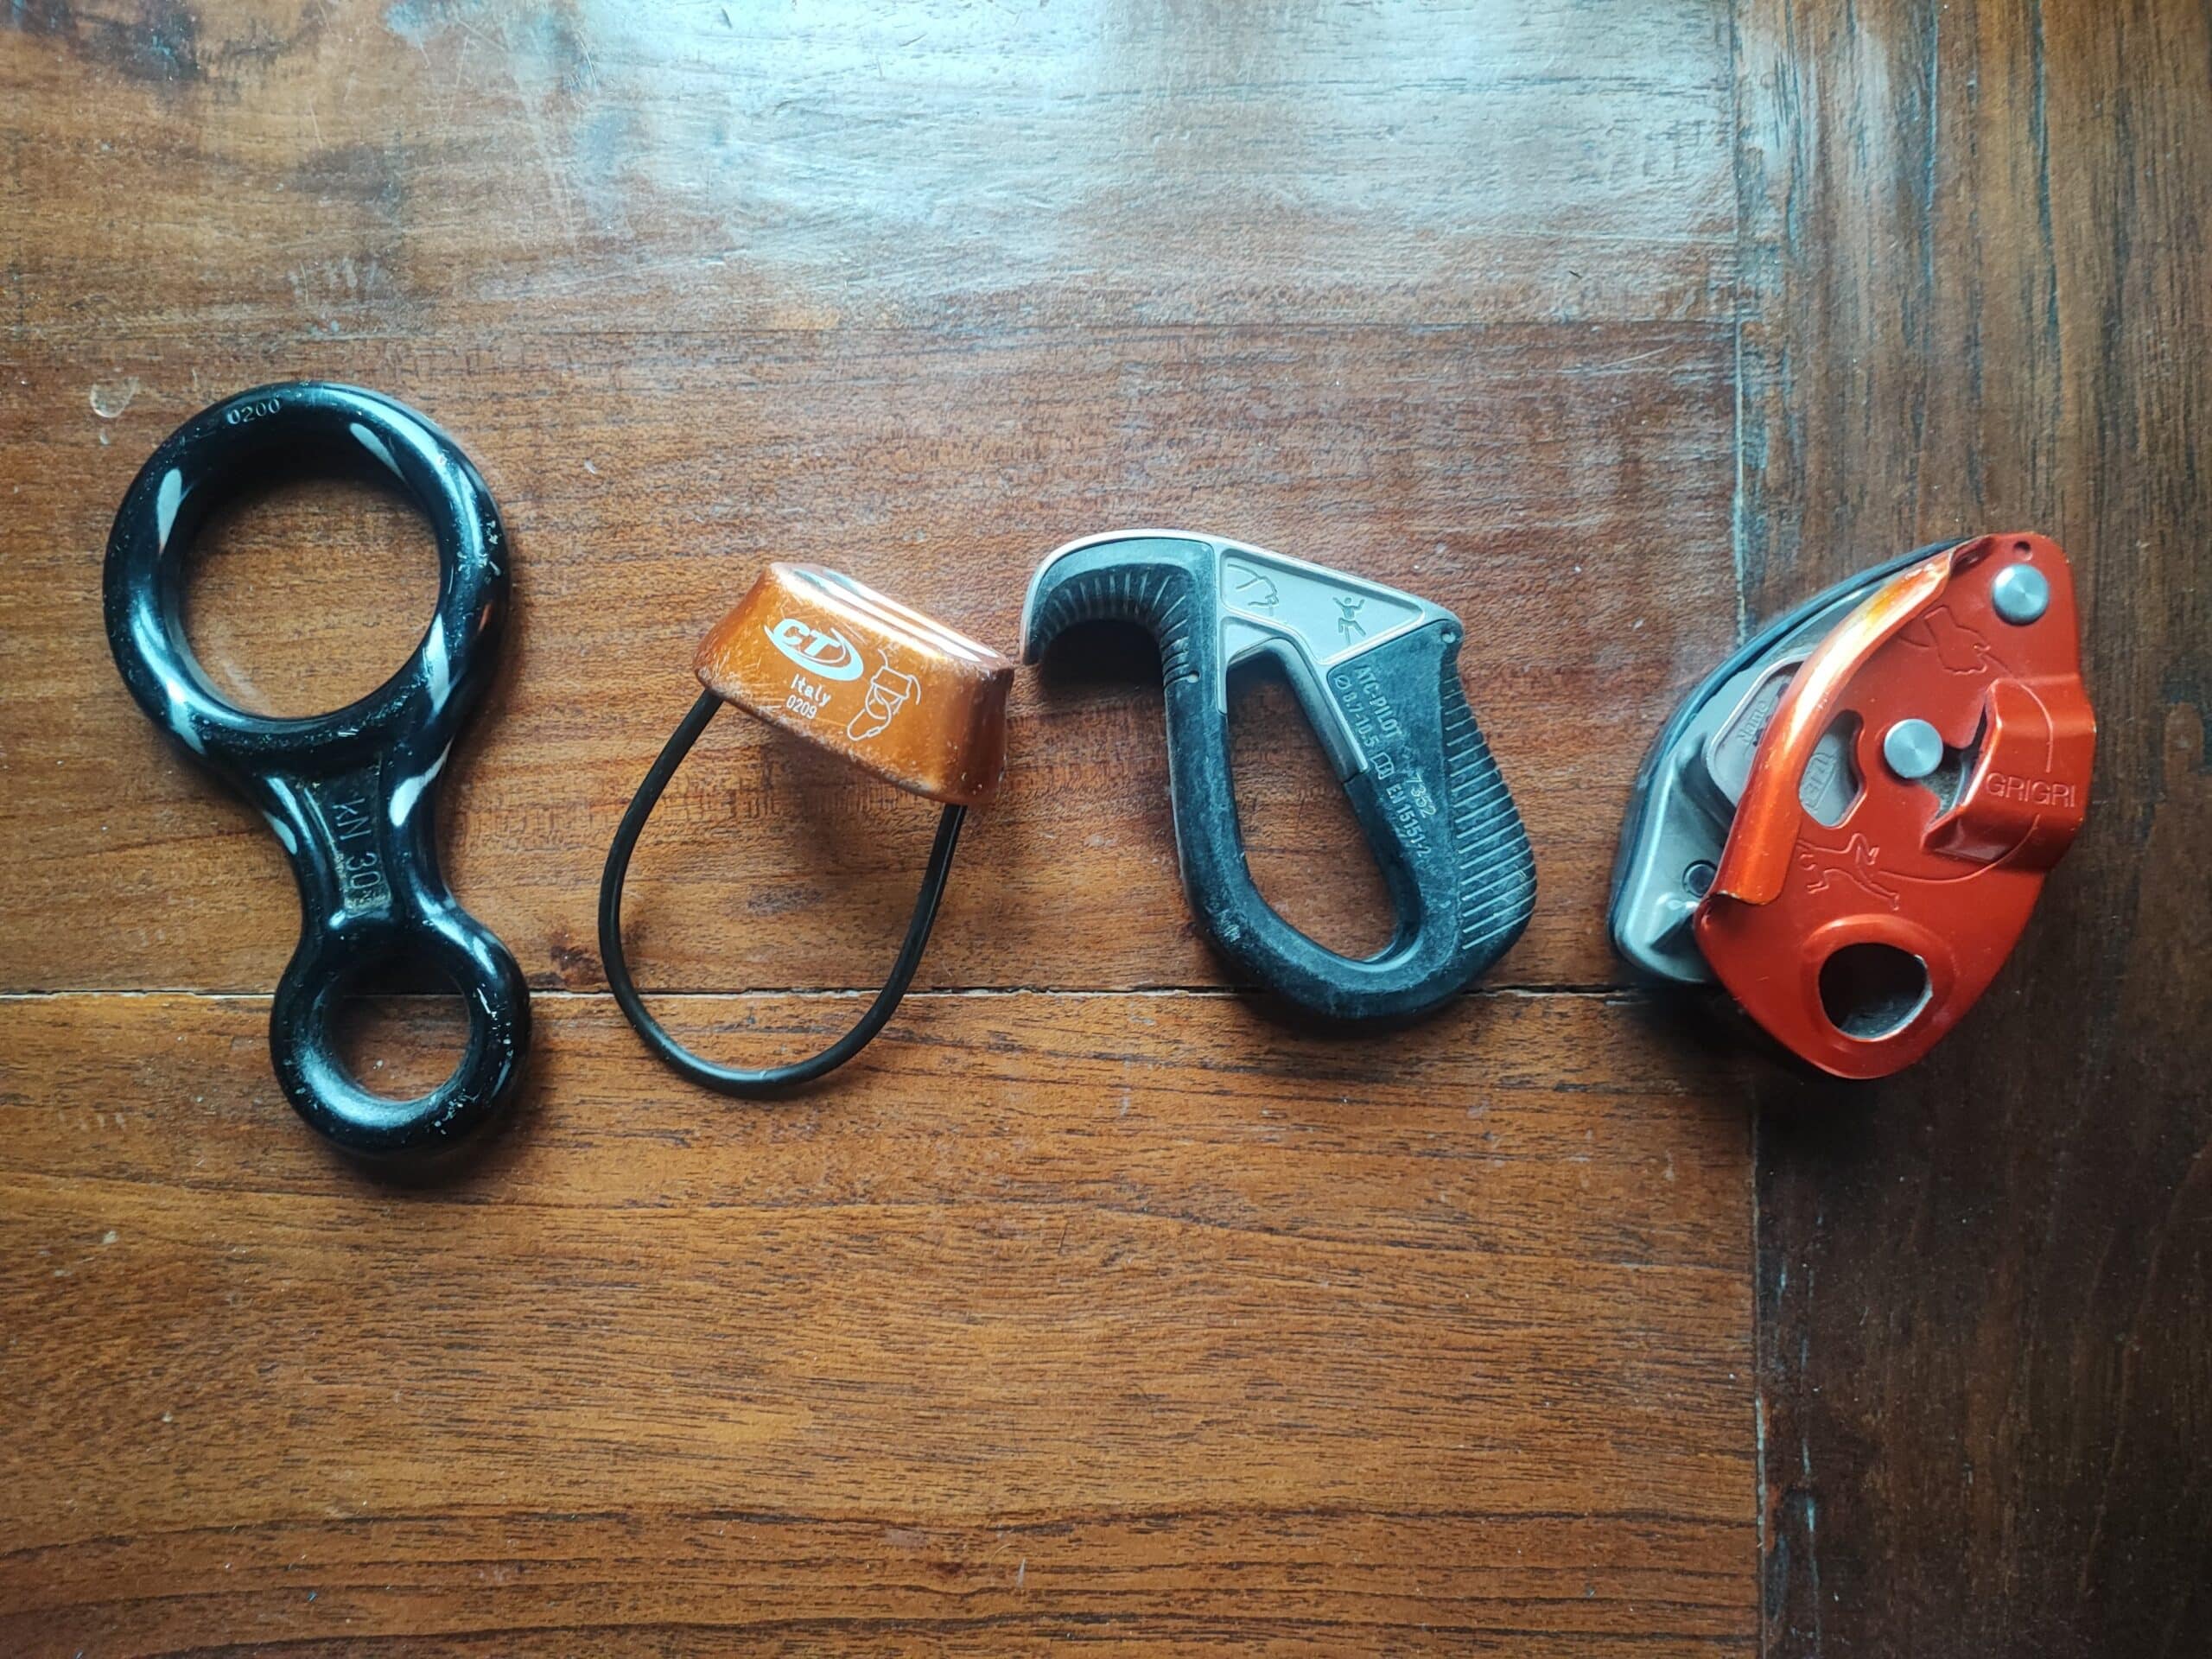
Before you belay, you’ll need to put your helmet on, and have a rock-solid attachment to the anchor. Also, read up on which belay device you would like to learn how to use first. For beginners it is recommended to start with a semi-automatic belay device like the GriGri.
Operating the belay device can be different for top-rope and lead climbing, and should be explained thoroughly to prevent critical mistakes. We will cover this in a future post.
Some general safety recommendations for belaying include:
- Follow a course!
- Check your gear for signs of wear beforehand.
- The climber and belayer must double-check each other for errors before the ascent starts.
- Always tie a stopper knot at the end of the rope used for belaying.
- NEVER let go with your braking hand
Additionally, we recommend reading our Mountaineering Beginners Guide if you are new to the sport.
Calling Out
There may be times when your team leader may climb up out of sight, so calling out as you climb and belay is standard procedure. Everyone on the team has to agree on the words and phrases to be used, and use each other’s names.
While these may differ depending on the country you’re in, some of the basic calls include:
- “Climbing!” – Your teammate is climbing up.
- “Off belay!” – Your teammate is no longer attached to the belay device.
- “On belay!” – Your teammate can start climbing.
- “Rock!” – There are falling rocks.
- “Rope!” – There is falling rope.
- “Safe!” – Your climbing teammate doesn’t need belaying, having been attached to an anchor.
- “Slack!” – The climber needs more rope.
- “Take!” – The belayer should tighten the rope.
- “Watch me!” – The climber might fall.
There may also be times when you and your teammates won’t be able to hear each other call out, in which case, you can use rope signals like one or more quick pulls on the rope.
Belay Escape
In emergency situations when you need to go to the aid of your teammate, you can escape the belay.
- Tie off the belay device with a mule knot.
- Connect the hero loop to the loaded rope with a Prusik knot, then place a locking carabiner in the hero loop.
- Get the free end of the belayer tie-in to the anchor and connect the carabiner on the hero loop.
- Remove the mule knot tying off the belay device to slowly allow the hero loop to receive the load.
- Connect the rope to the anchor with a figure eight on a bight.
- Take off the belay device.
How do you descend with a rope?
Rappelling or abseiling and being lowered down are the most common ways to descend using a rope.
Rappel or Abseil
Rappelling or abseiling allows you to use friction to manage how quickly you descend. While it’s an essential mountaineering rope skill, rappelling is also among the most hazardous. You’ll need flawless technique and cooperation between you and your teammates to make rappelling safe.
Using the correct rappelling technique is an absolute non-negotiable. The modern steps involved in rappelling are:
- Secure yourself to the anchor using a personal tether or sling girth-hitched to your harness tie-in points.
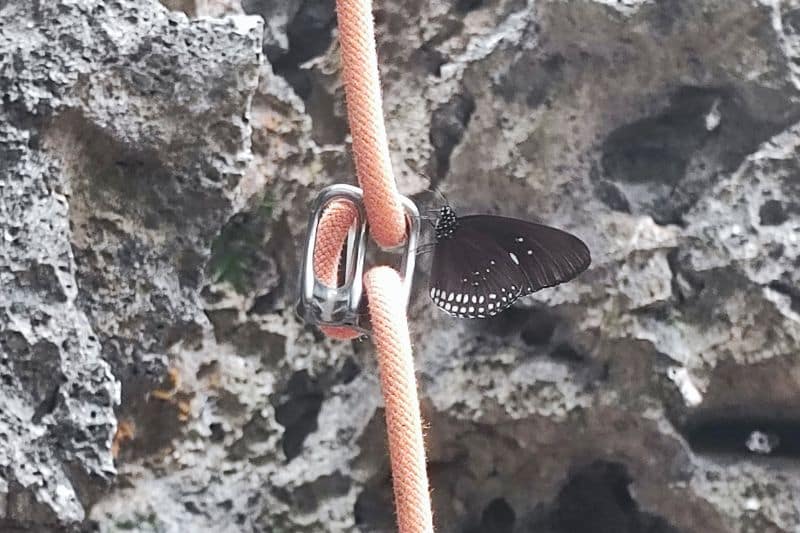
- Thread the rope through the rappelling point (rap rings or quick-link) until you reach the middle mark.
- If a double-rope rappel is needed: Join the two ropes together using a Flat Overhand Knot (often called the EDK) leaving at least 12 to 18 inches30 to 45 cm of tail. Note which color rope you need to pull later.
- Close the system: Tie a stopper knot at the bottom ends of the ropes. Toss the strands down securely.
- Tie a short friction hitch (like a Prusik or Autoblock) around both strands of rope and attach it to your harness belay loop with a locking carabiner to act as your third-hand backup.
- Pull slack up through your friction hitch and load the rope into your rappel device (tuber/ATC). Attach the device to your harness belay loop (or extended tether) using a locking carabiner.
- Lock the carabiner, then pull the slack tight to transfer your weight onto the rappel device while you are still safely tethered to the anchor.
- Double-check your system. Once your weight is fully supported by the rappel setup, unclip your personal tether from the anchor.
- Start rappelling with your legs apart at hip-width, keeping both hands on the brake strand below the belay device. Gently slide the Prusik knot down as you descend.
- Once at the next station, secure yourself to the new anchor, remove your rappel device, and untie the stopper knots at the bottom of the ropes so you can pull the rope down cleanly.
When the time comes to remove the rope, make sure you pull the right end (see step 3) to keep the flat verhand knot from getting stuck in the rappelling ring.
Safety procedures for abseiling include:
- Make sure your anchors are secure and have back up anchors.
- Bring tape or cord for anchor extensions.
- Always keep your ropes attached to anchor points.
- Sit in your abseiling system to check before taking off your safety sling.
- Use an overhand knot with tails that are about 1 foot30 cm long to join ropes.
- Use a belay device that you’re used to.
- Use a rope protector if you can’t avoid sharp edges and loose rock.
- Keep your ropes organized as you descend.
- Make sure you don’t rappel right off the end of the rope.
- Tie a stopper knot at the end of the rope to act as a brake.
- Rappel straight down, smoothly.
- Do a test pull after the first abseil.
The last mountaineer to abseil can use a carabiner to keep track of the inner rope to pull, and make sure the rope doesn’t snag or get caught in anything on its way down.
Lowering
When traveling in a team, it’s usually recommended for the first person to be lowered instead of abseiling. That way, you can avoid falling rocks and you won’t have to cast the rope, which can snag. Always tie a stopper knot at the end of the rope before lowering so you don’t accidentally drop your teammate off the end of the rope.
To lower a teammate directly from an anchor, the safest modern method is to use a modern tube-style device in Guide Mode. The device is attached directly to the anchor’s master point with a locking carabiner, allowing it to auto-block if the belayer needs to go hands-free. To slowly lower the climber, the belayer uses a spare carabiner or sling in the release hole of the device to carefully lever it open, keeping a firm grip on the brake strand at all times.
Alternatively, you can redirect the rope through a carabiner at the anchor’s master point, while belaying the climber off your harness belay loop using standard belay techniques.
References:
1. https://www.rei.com/learn/expert-advice/glacier-and-roped-travel-for-mountaineering.html
2. https://www.salewa.com/en-us/expertise/mountaineering-skills-and-techniques?srsltid=AfmBOoqNZhcwArYMsloRELdl2DUAPpMTbQhi4Kq2NCQqqgT7NsHFwkUm
3. https://www.ortovox.com/uk/safety-academy-lab-rock/chapter-3-belay-stations-and-belay-techniques
4. https://climbingthesevensummits.com/mikes-big-four-skills-all-mountaineers-need/
5. https://www.mountaineers.org/locations-lodges/seattle-branch/committees/seattle-climbing-committee/course-templates/alpine-climbing-courses/intense-basic-alpine-climbing-course/course-materials/standard-techniques
6. https://www.theclimbingacademy.com/tca-life/start-roped-climbing/
7. https://www.rei.com/learn/expert-advice/getting-started-rock-climbing.html
8. https://www.youtube.com/watch?v=CBlBy807Qqc&t


