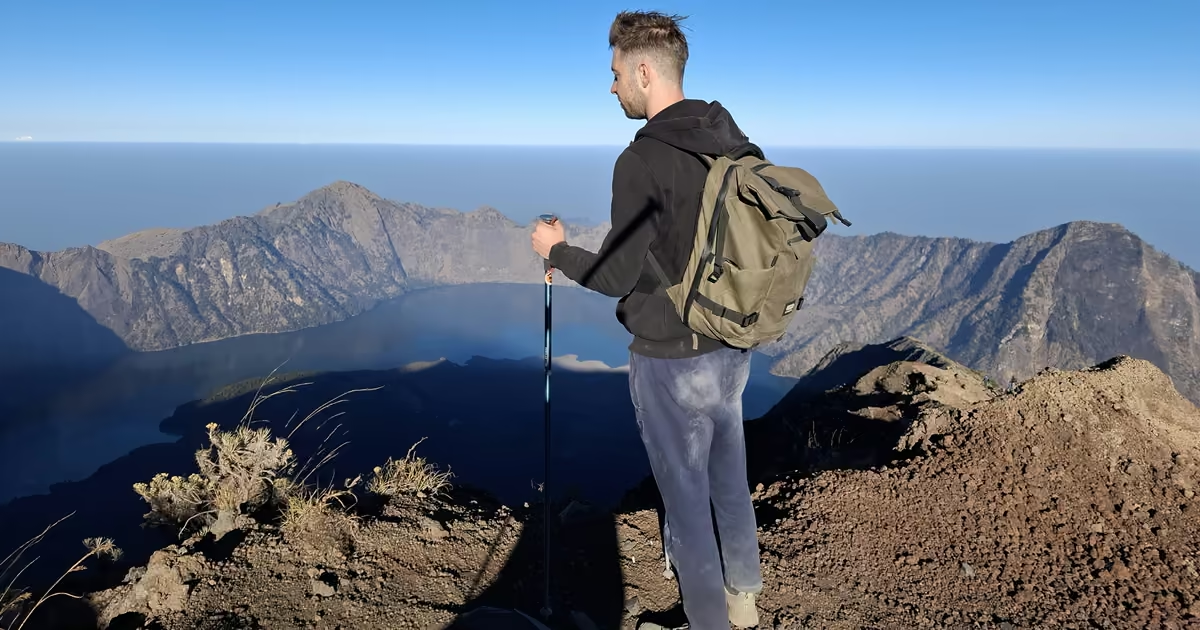
At 2:00 AM on the second day of my Mount Rinjani trek, I was standing on a crater rim in the wind, headlamp on, watching a line of other headlamps snake up the ridge above me. Three hours later I was on the summit of Indonesia’s second-highest volcano at 12,224 feet3,726 meters, watching the sun come up over Lombok while the village lights below slowly went out. Getting there was the hardest part of the whole trip, and it was only half of what makes this trek special.
I did the classic 3-day, 2-night traverse from Sembalun to Senaru in early October 2026, at the very end of the dry season. This is my day-by-day account: the dust, the scree, the monkeys, the crater lake and the hot springs, and the gear that actually made a difference. If you are deciding whether to do Rinjani, or how to prepare for it, this should give you a realistic picture.
Rinjani trek at a glance
| Trekked | Early October 2026, the tail end of the dry season |
| Route | Sembalun → Sembalun crater rim → summit → Segara Anak crater lake → Senaru crater rim → Senaru |
| Duration | 3 days, 2 nights (camps on the Sembalun rim and at the lake) |
| Start | Sembalun, about 3,900 ft1,200 m |
| High point | Rinjani summit, 12,224 ft3,726 m |
| Distance | Roughly 20 miles32 km in total, per published route data |
| Summit day | Up at 2:00 AM, about 3 hours to the top for a sunrise around 5:50 AM |
| Guide | A licensed guide is mandatory; you book through an operator |
| Our trek | Booked with Meriani, in a group of six |
| Difficulty | Hard. Not technical, but steep, loose, dusty and exposed, with big temperature swings |
Elevations are official figures and the distance is published route data, not a GPS recording of my trek. Times are my own.
Short Answer: Is the Rinjani Trek Worth It?
Yes, if you go in prepared. The sunrise from the summit, the view down onto Segara Anak crater lake with the smoking cone of Gunung Barujari in the middle, and the morning light on the Senaru rim are among the best things I have seen on a trail. But it is a hard trek: hot and dusty low down, freezing and windy up high, and the summit push is a slog through loose volcanic gravel in the dark. The rest of this report tells you exactly what each part felt like.
Before you go
- Exposure. The summit ridge and the Senaru rim have serious drop-offs on both sides, and the railings and ropes on the Senaru side were broken in places. Rinjani has had fatal falls on the summit route; this is not a trail to rush in the dark.
- Wind and cold. The rim and summit go from hot afternoon to near freezing with hard wind gusts after sunset. A warm layer and a windproof shell are not optional.
- Altitude. You sleep high and go higher at 2 AM. I had a mild headache on the ridge. Anything worse than mild is a reason to turn around.
- Fire season. The park restricted normal operations from 1 September 2026 because of wildfire risk, and we walked a bypass around burned sections. Check current status before you book.
- Monkeys. The macaques at the rim camp will steal unattended food and gear.
Day 1: Sembalun to the Sembalun Crater Rim
Savannah, Sun and Dust
The trek starts in Sembalun at about 3,900 feet1,200 meters on the east side of the mountain. The first hours run through open, rocky savannah in full sun. It was hot, I was sweating heavily within the first hour, and because it was the end of the dry season the dust was thick. Every step, and every porter passing by, kicked up a cloud. A buff or bandana over your mouth is not a fashion choice here.
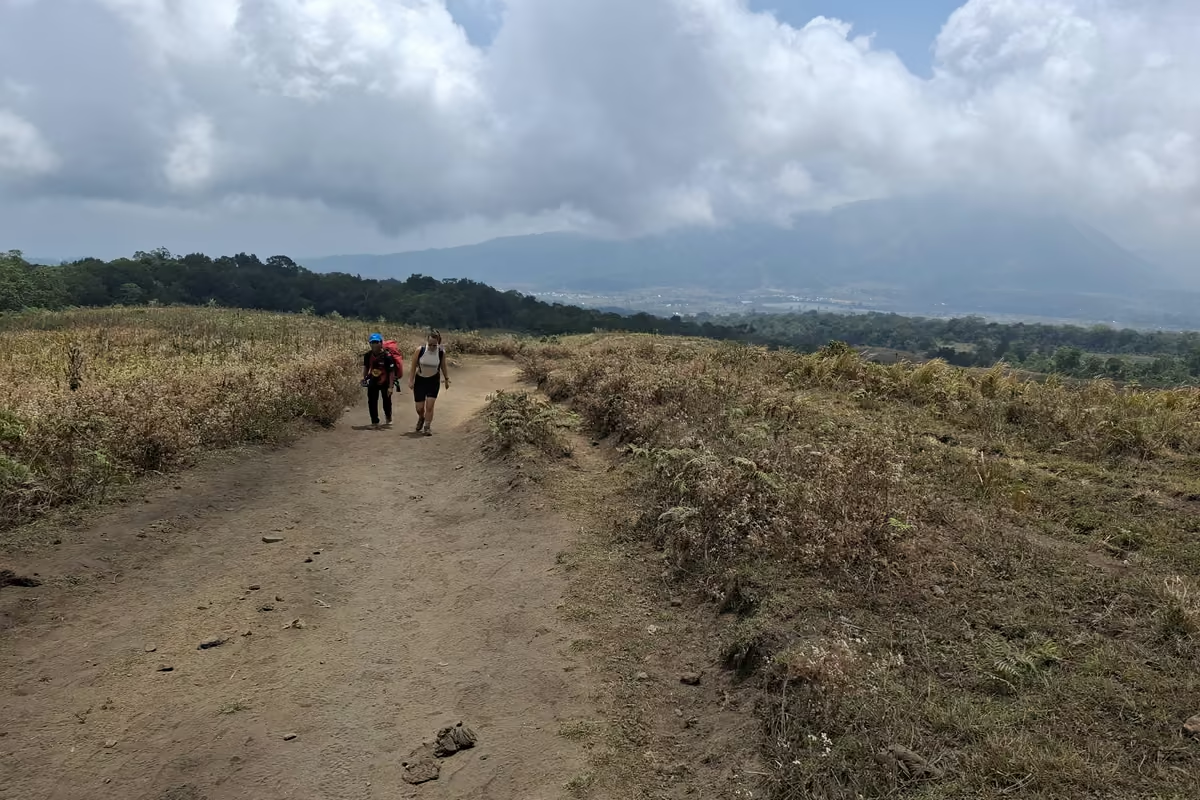
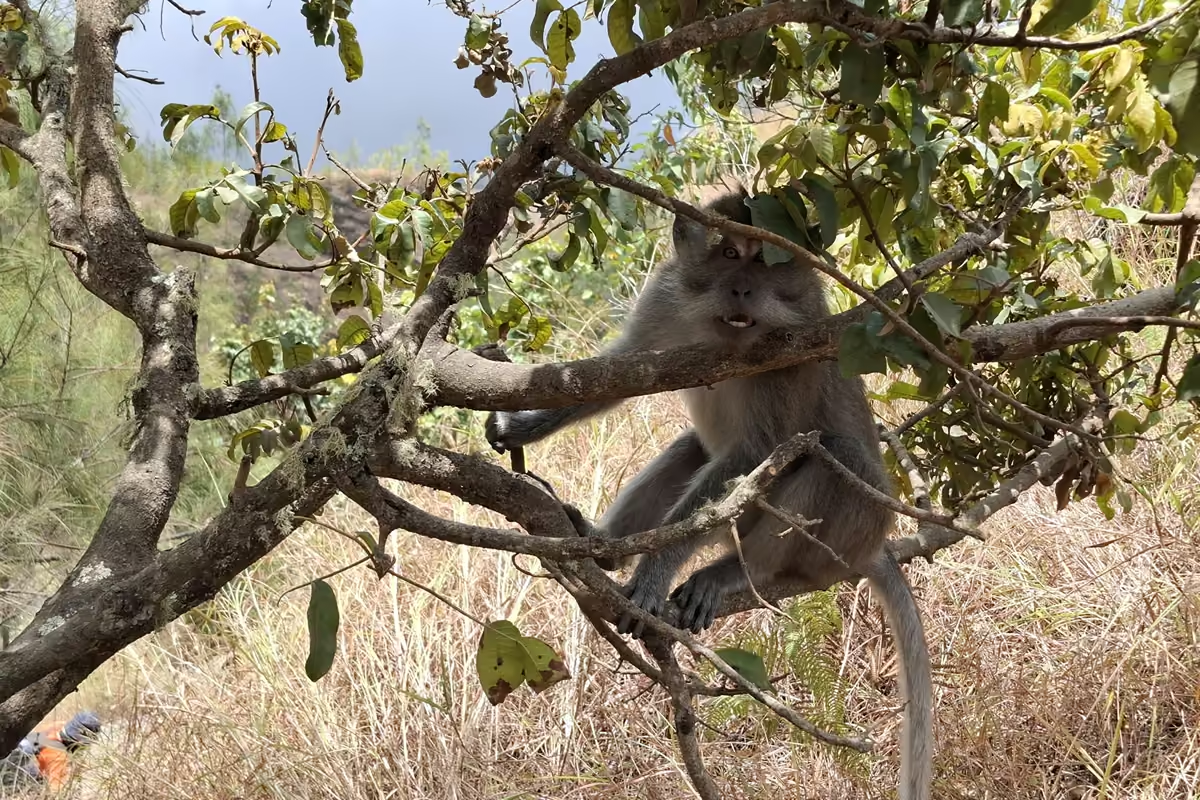
Slowly the savannah gives way to forest, and that is where I saw the first grey macaques. More about them later; they become a lot less charming at camp.
The POS Shelters and the Plastic Check
Along the route you pass numbered rest stops called POS. They have simple shelters with shade and solar panels, and some have power outlets, although whether those worked was hit and miss. At several of them, porters run tiny vending points selling cold drinks and snacks, which felt like a small miracle in the heat.
At POS 1, park staff did a check for single-use plastics and wet wipes. In practice it was a quick look in the top compartments of our bags and nothing more. I mention it because the intention is good, but as you will read below, it does not stop the litter problem higher up.
Into the Clouds
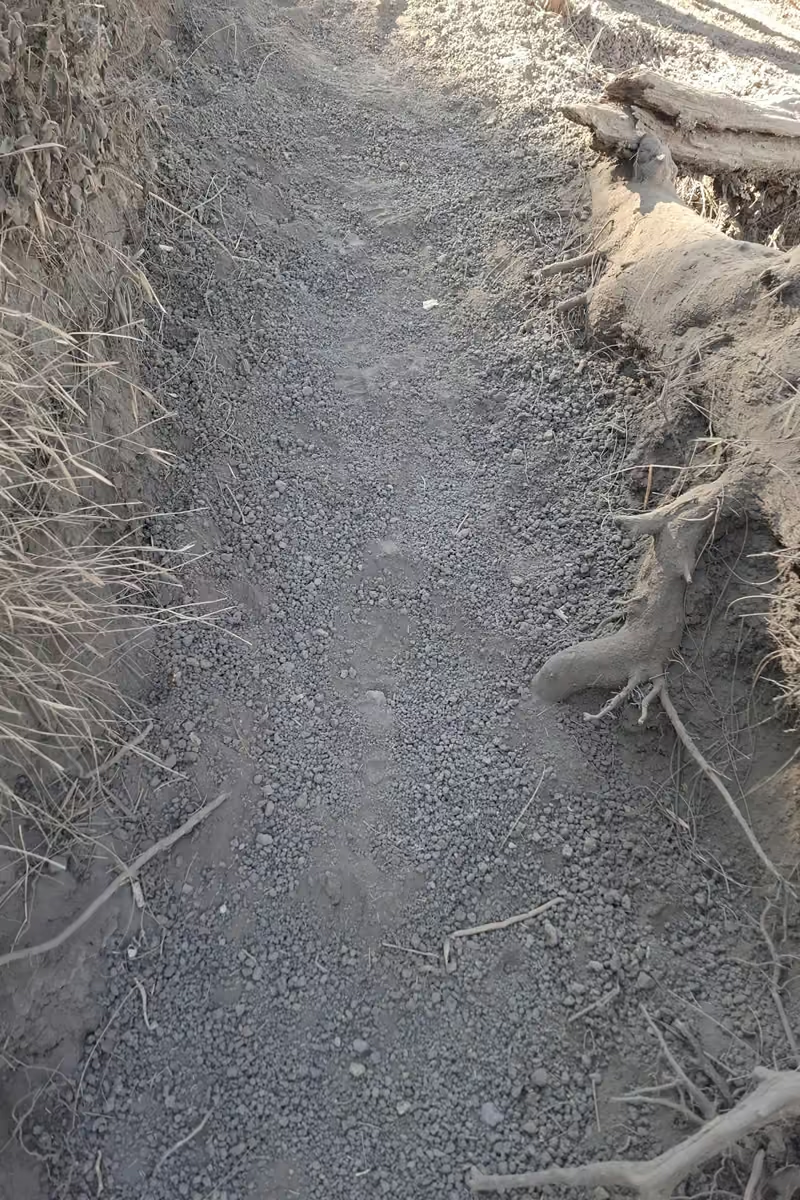
Around midday we climbed into the cloud layer, and the temperature dropped all at once. After the savannah, that shade and cool air were very welcome. The trail gets steeper from here, with loose rocks, tree roots and deep dust. Porters carrying huge loads move up this section much faster than you do, on single-track trail. They have right of way, always. Step aside and let them pass.
Camp on the Sembalun Crater Rim
After a final steep push you reach the Sembalun crater rim (Plawangan Sembalun) at 8,660 feet.2,639 meters. The rim has five camping areas spread along it. The first, and largest, has the broadest view across the crater lake and up to the summit, which still rises another 3,500 feet1,100 meters above you. Our tents were at the last section, next to the red emergency shelter and the trail marker for the next morning, which meant a short walk to the start of the summit trail.
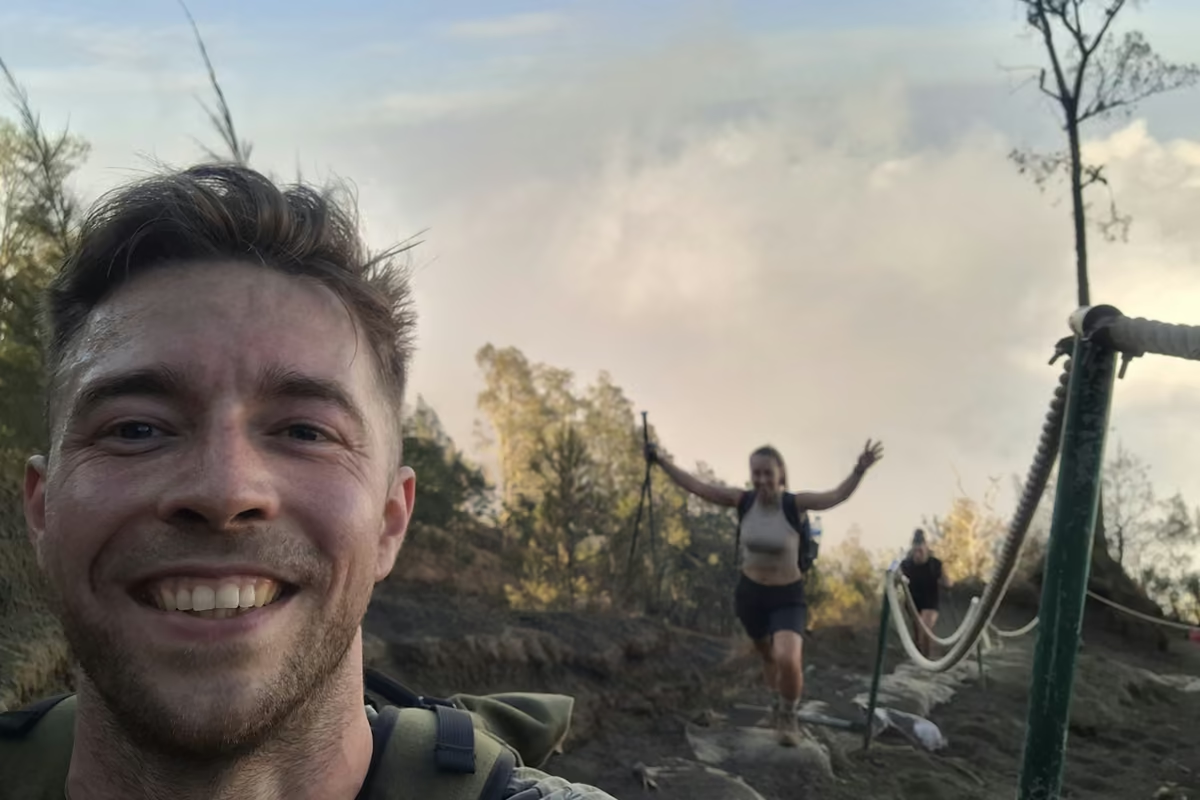
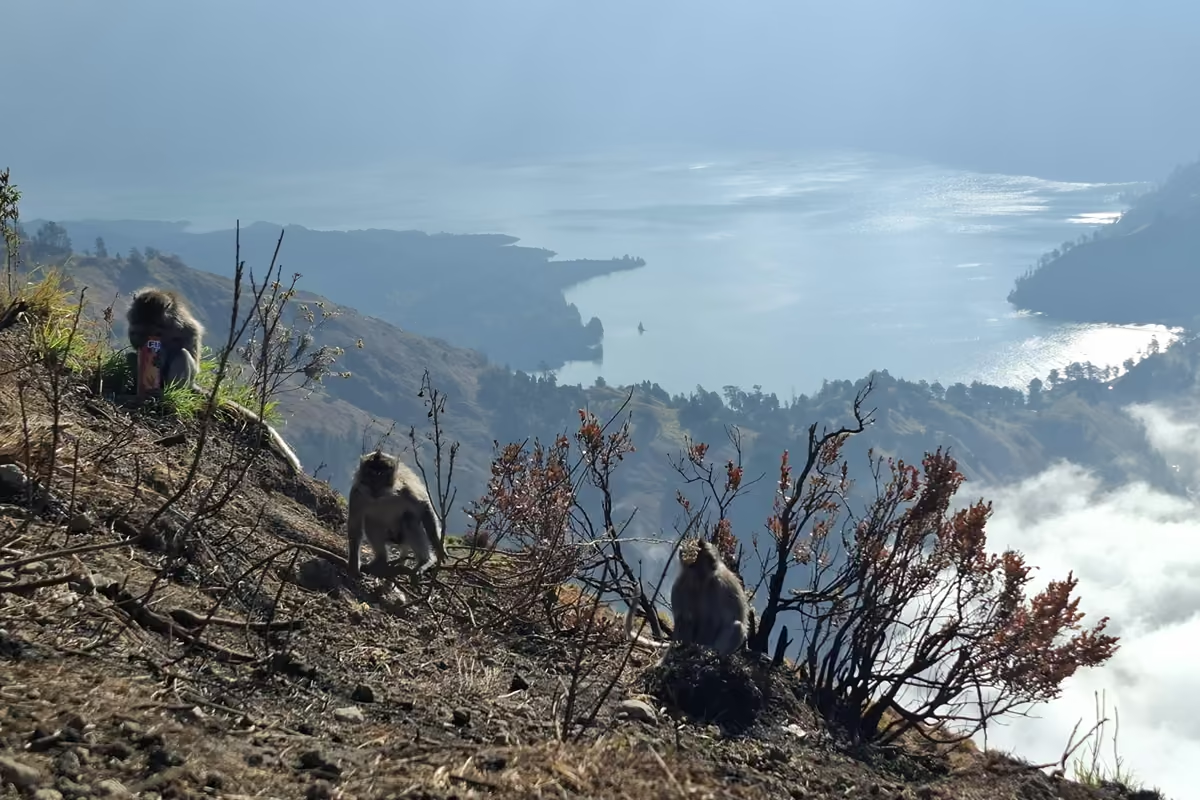
Three things defined that evening. First, the monkeys: grey macaques roam the camp and actively scavenge for food and unattended gear. Zip your tent, do not leave snacks out, and keep an eye on your pack. Second, the litter: there was a lot of it around the campsite and along parts of the main path, which was sad to see in a place this beautiful. Third, the cold. Once the sun went down the temperature dropped sharply and strong wind gusts swept over the rim. Everyone was in their tent early, which was fine, because the alarm was set for 2:00 AM.
Trail tips, news and giveaways
One email a month: hiking tips, gear news, giveaways, fresh footwear verdicts and more. No spam, unsubscribe anytime.
Day 2: Summit Push, Crater Lake and Hot Springs
2:00 AM: The Ridge
We left camp at 2:00 AM for the climb that normally takes about three hours, timed to reach the summit around sunrise at roughly 5:50 AM. The first half hour was a bottleneck of headlamps. Once we reached the narrow ridge on the left side of the crater, the groups spread out.
That ridge is exposed. There are steep drop-offs on both sides, and the wind up there is strong enough to push you around. This is where I noticed the altitude for the first time, as a mild headache. Nothing serious, but a reminder that you are now well above where you slept.
The Scree: Two Steps Up, One Step Back
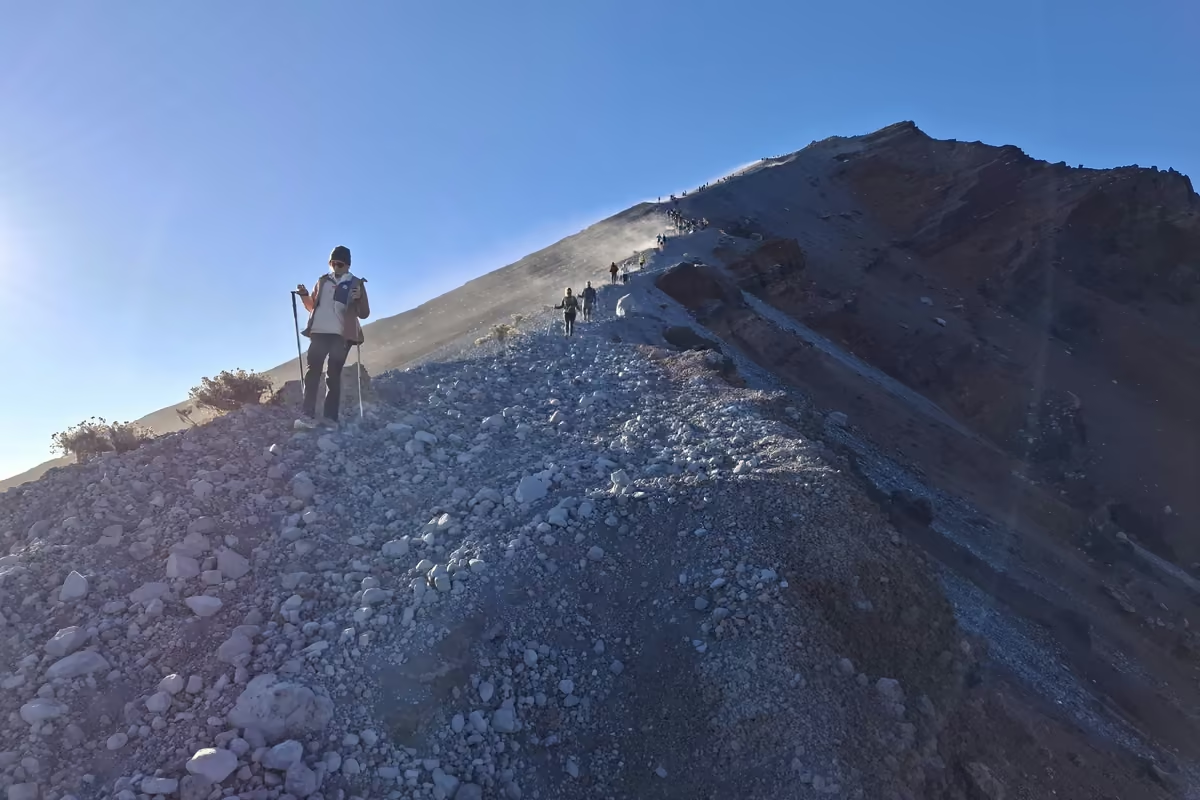
The last section is the part everyone talks about, and they are right. It is deep, fine volcanic scree: for every step forward you slide half a step back. A headlamp is obvious, but trekking poles were just as essential for me. They gave me the balance and the push I needed to keep moving on ground that keeps moving under you. Just below the top there is a short rock scramble, and then you are on the summit.
Sunrise from the Summit
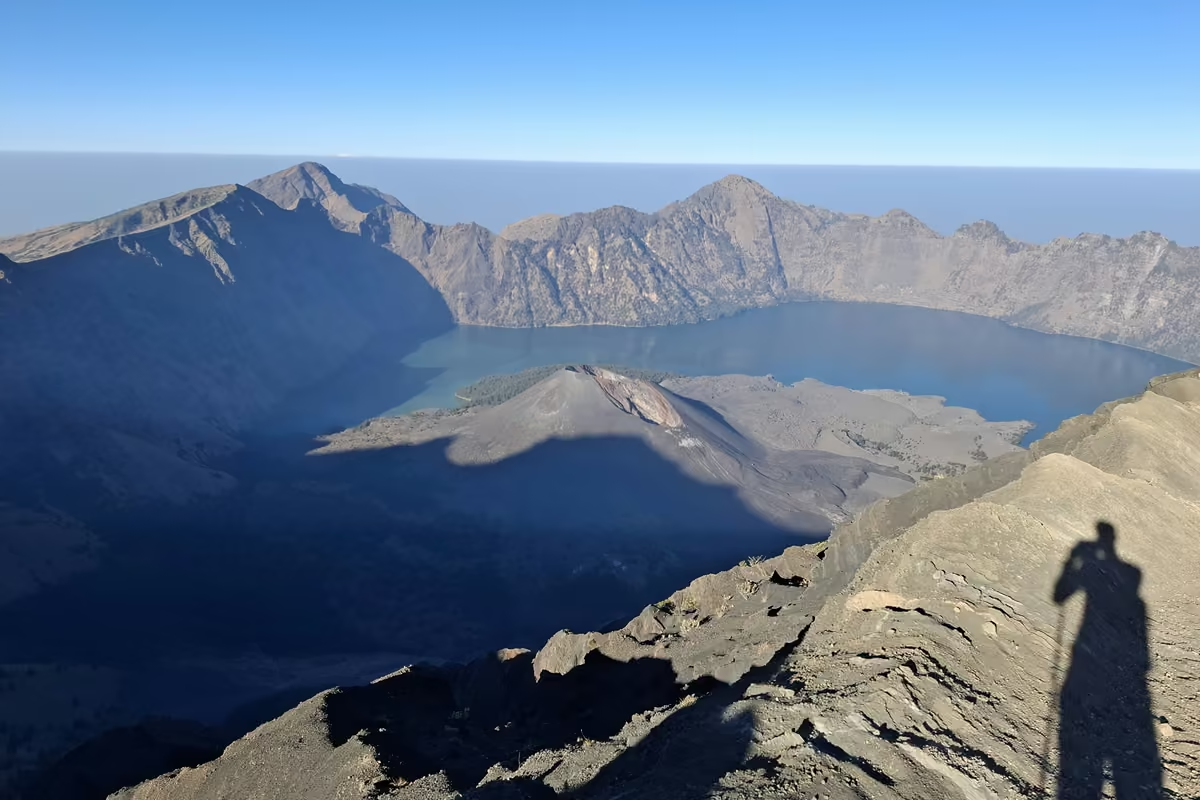
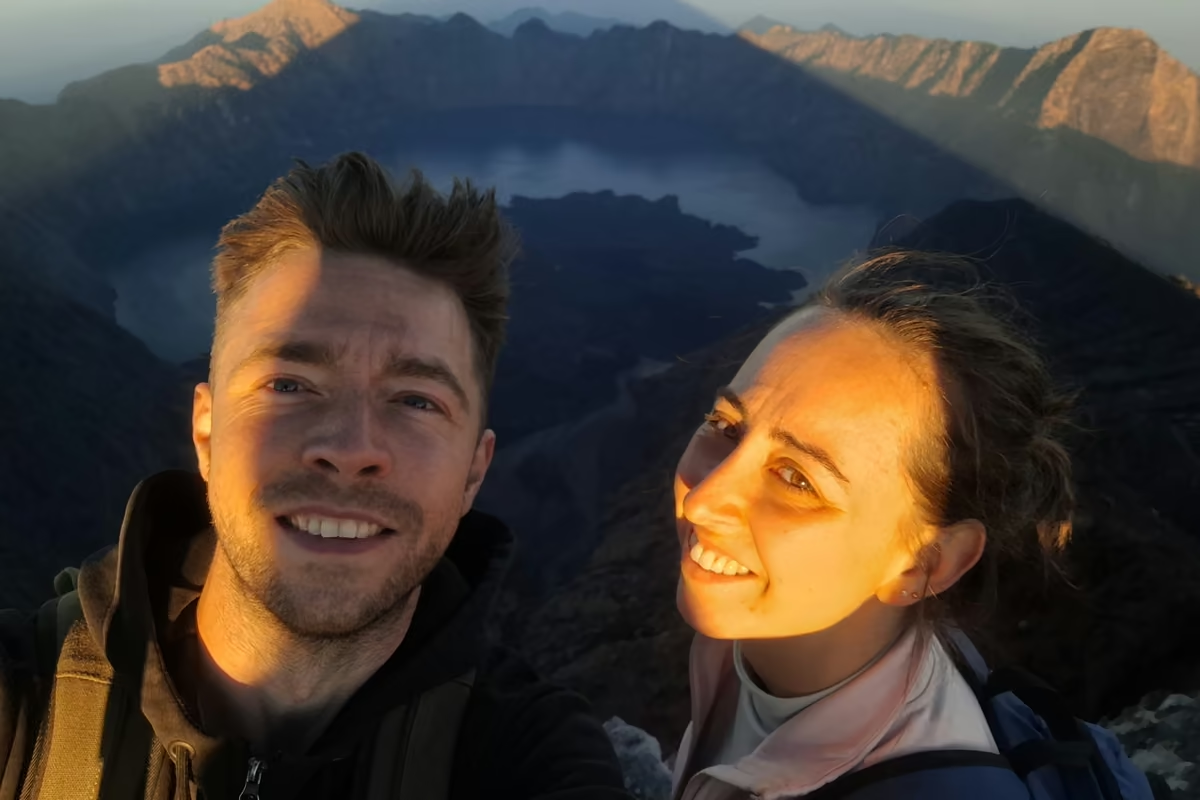
The view made up for everything. The horizon slowly turned orange while the grid of lights from the villages far below was still on.
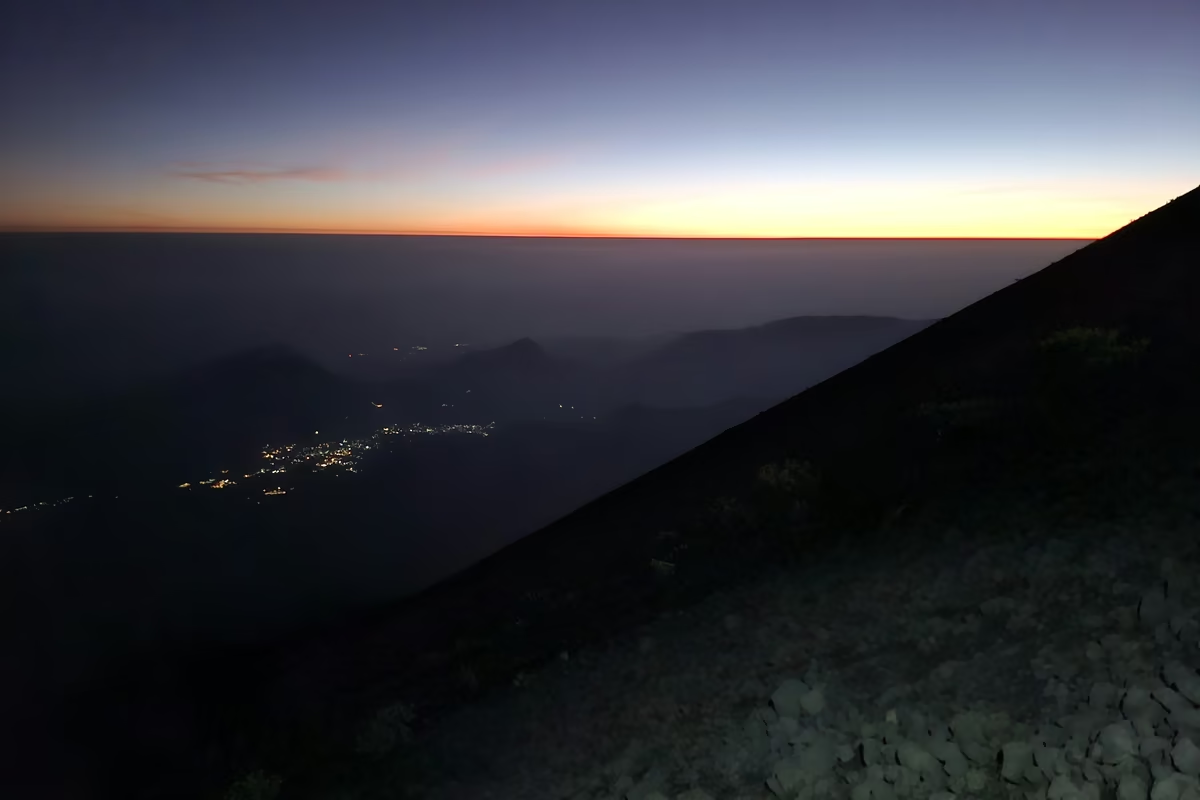
Once it got light, the whole crater opened up: Segara Anak lake far below, and in the middle of it the active cone of Gunung Barujari, steaming and smoking. It is the kind of view you stand in silence for.
Back Down to the Rim (Watch Your Feet)
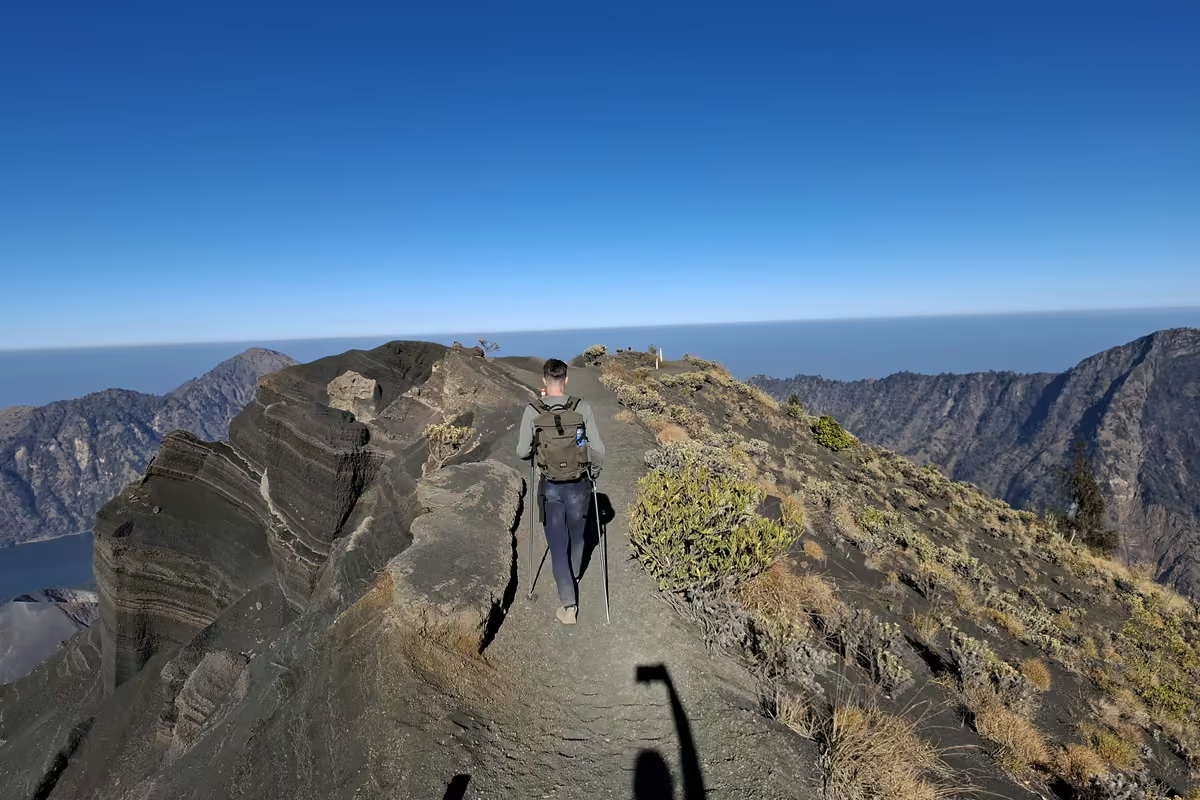
Going down took less than half the time of going up, but it is where people fall. The loose scree makes you slide, and I saw several hikers lose their balance. Take small steps, keep your weight over your feet, and use your poles.
This is also where I learned the most important gear lesson of the trek: the fine gravel gets into everything. I wore low-cut trail runners, and the gravel poured in over the top and ground against my feet. Mid or high boots, or gaiters, make a huge difference here. I come back to this in the gear section below.
Down into the Crater
Back at the rim camp we packed up and started the descent into the caldera, about 2,000 feet600 meters down to the lake at around 6,600 feet.2,010 meters. The trail is extremely steep and hard on the knees, especially with summit legs. My trekking poles took a lot of the load off my joints here. If your knees complain on long descents at home, this section will find that out quickly.
Segara Anak and the Hot Springs
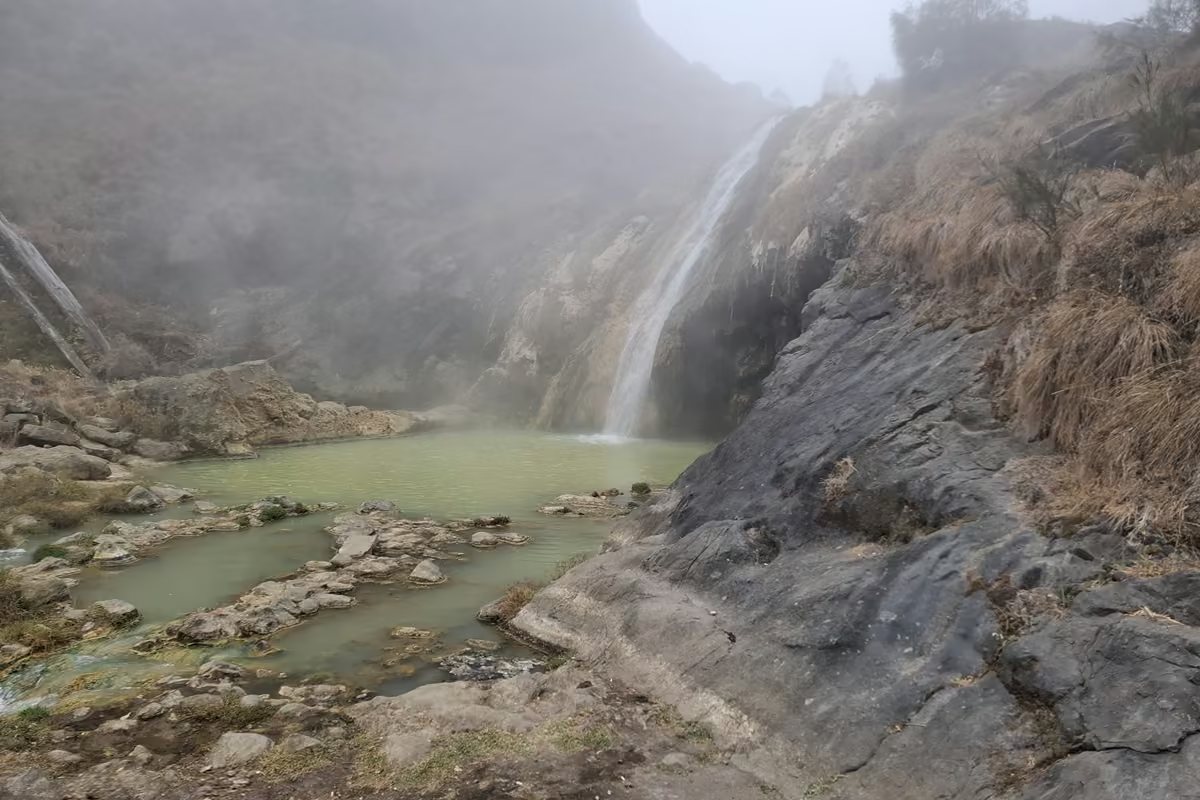
Swimming in the lake itself is not allowed; it is a sacred lake. But a short walk away are natural hot springs, and sinking into warm water after a 2:00 AM start and a summit is one of the best feelings I have had on a trail. The pools where people actually bathe were noticeably cleaner than the lake shore around them, where litter was again a problem.
That evening was simple: an early dinner and a long night of sleep to recover from the short one before.
Day 3: Segara Anak to Senaru
Around the Lake, and Around the Fire Damage
We left at 6:00 AM, walking along the edge of the crater lake. Because of recent wildfires, our guide took an alternative trail that bypassed the burned sections. The fire risk in this period was real: the national park had already restricted trekking from 1 September 2026 because of it, and the Senaru route we were heading for had been closed after a fire in late September. It only reopened on 3 October, a week before we started.
Routes on Rinjani can open and close at short notice in the dry season. Check the current status on the official Rinjani National Park website and with your operator before you book, and again a few days before you go.
The Climb to the Senaru Crater Rim
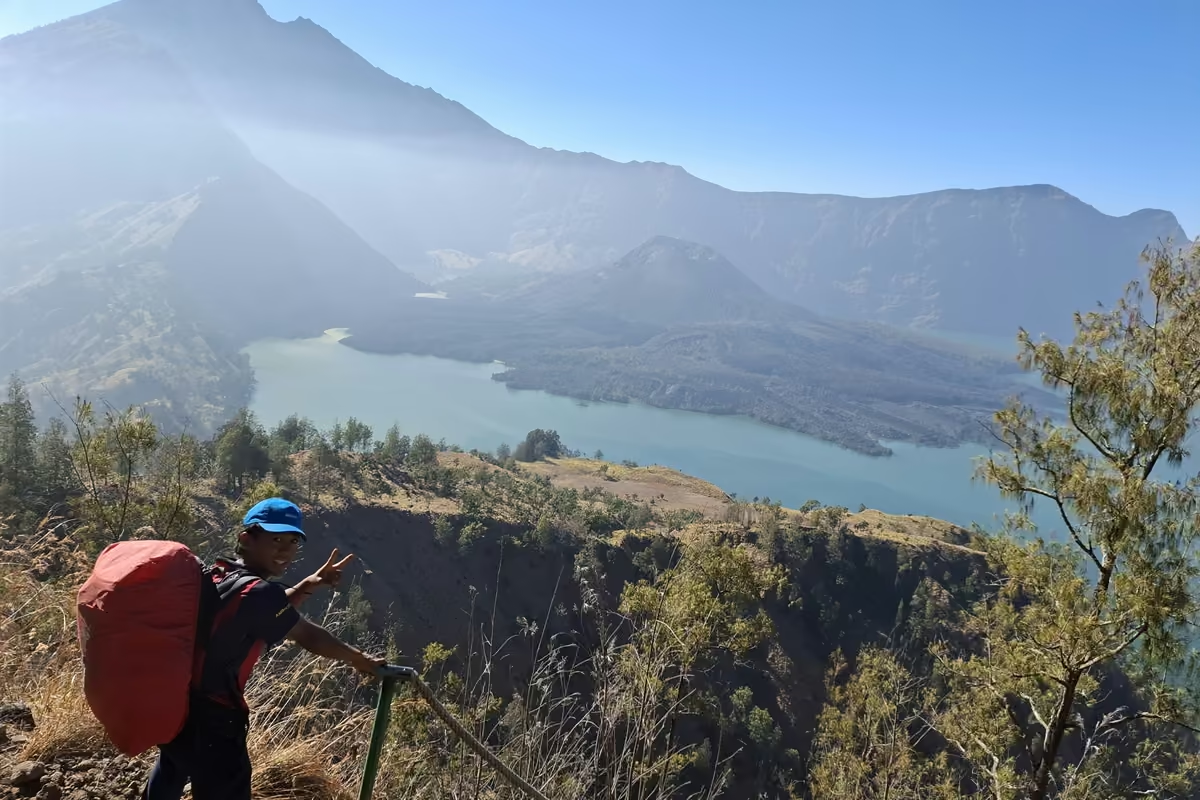
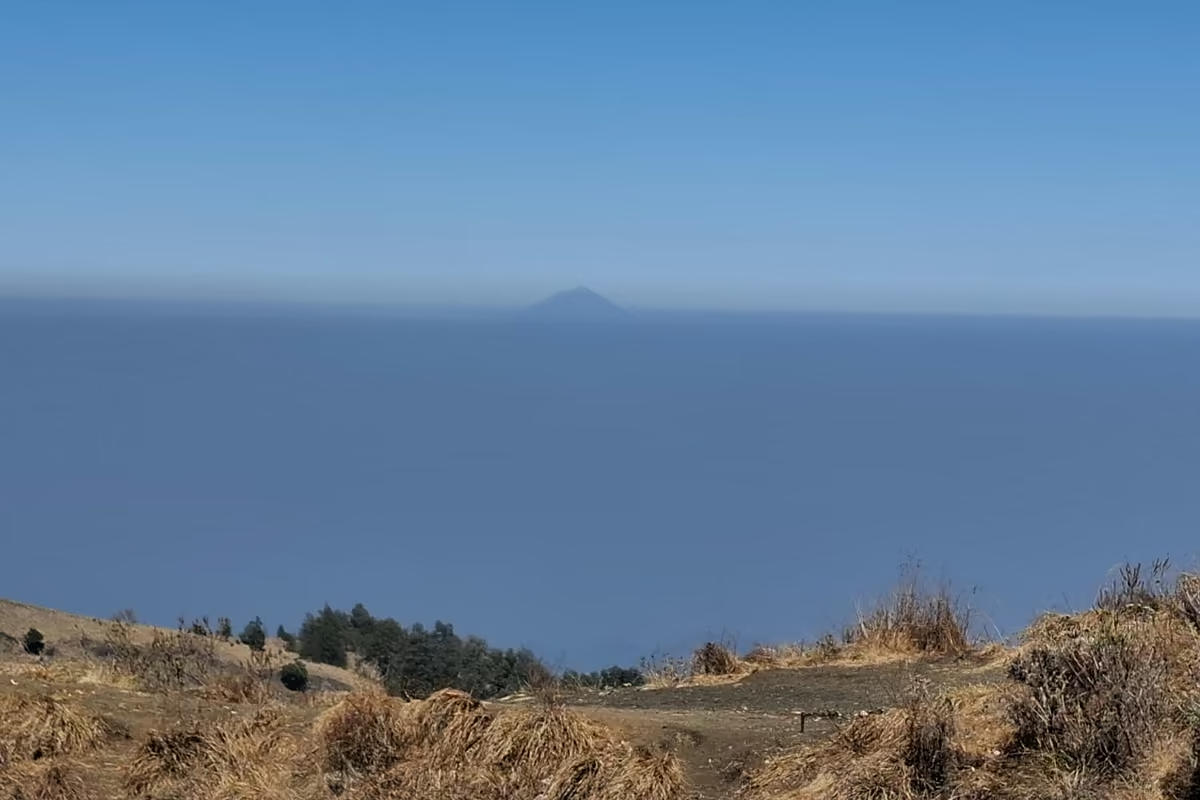
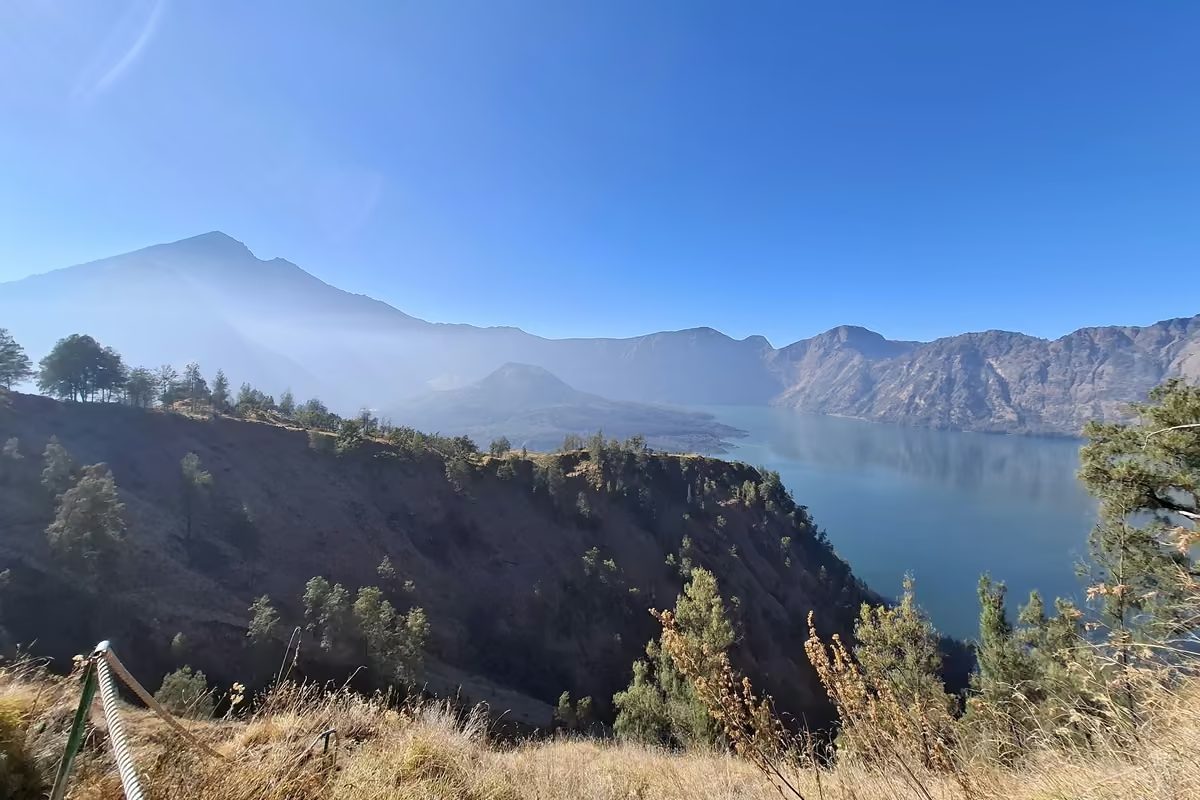
After about 30 minutes along the shore, the trail turns into a long, steep rocky climb up to the Senaru crater rim on the opposite side. It is hard work, but the reward is big: honestly, I found the view of the lake from this side even better than the one from the summit. The morning was clear, and far on the horizon I could see Mount Agung on Bali, 9,944 feet3,031 meters high.
Stay focused on this stretch, though. The path is exposed, and the safety ropes and railings were in poor repair or broken in several places. Do not trust them with your weight; trust your feet.
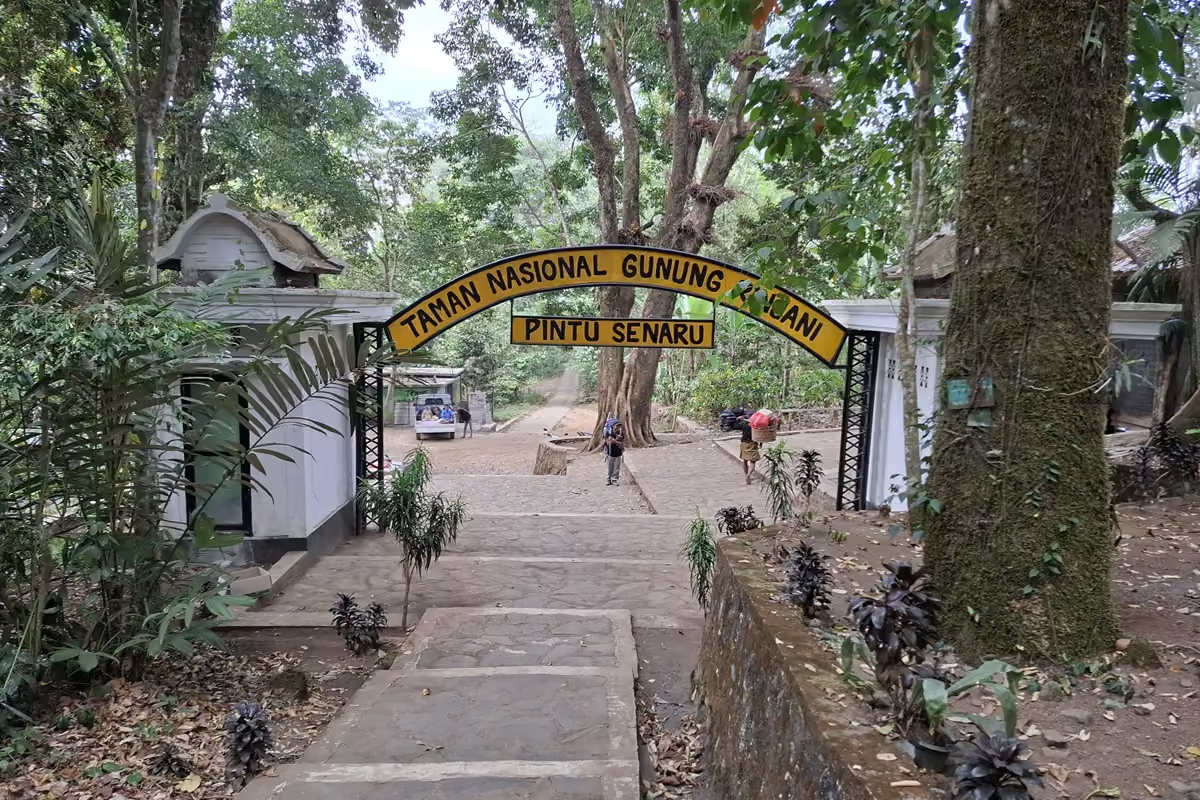
Through the Jungle to Senaru Village
After the first POS shelter on the outer side of the rim, the open sun gives way to dense jungle. This part was a pleasure: shade, softer light, and high in the canopy black ebony leaf monkeys (lutung). They were much shyer and calmer than the macaques at the rim camp, and kept their distance.
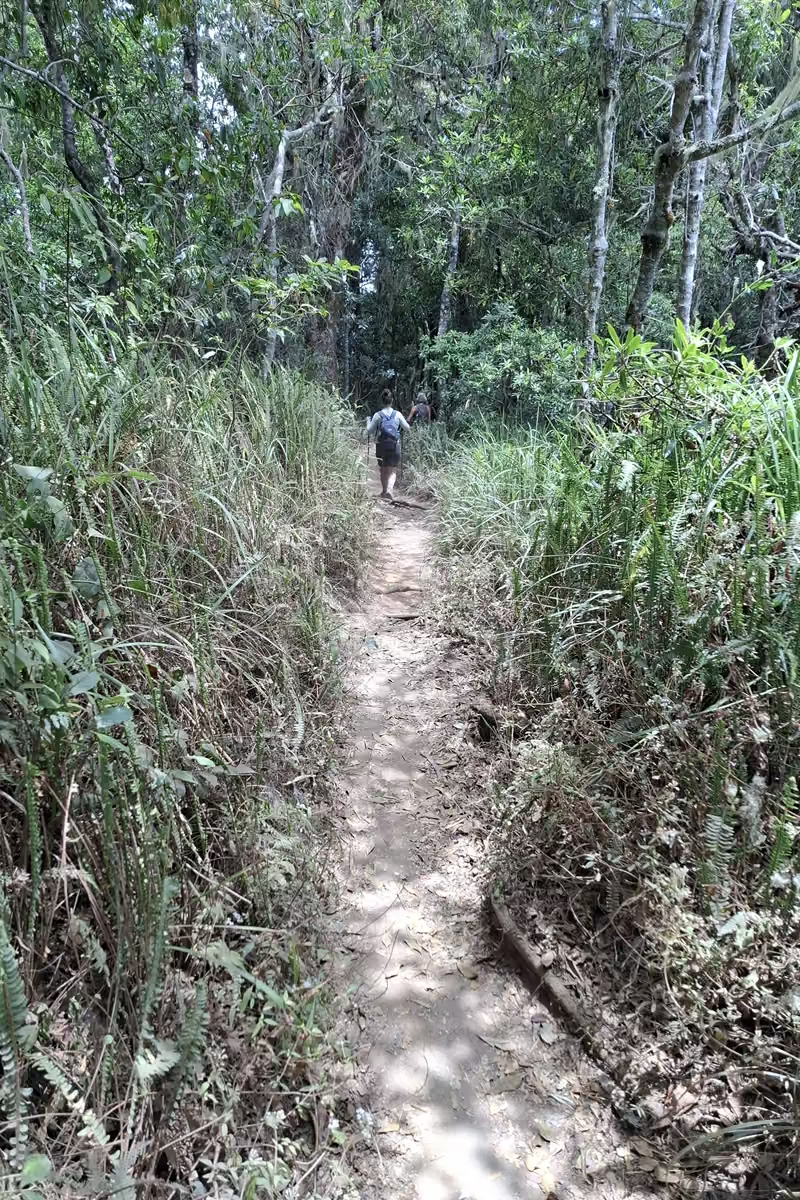
The gradient gets gentler as you go, and the last part is an easy, shaded descent to Senaru at around 2,000 feet.600 meters. Near the gate the humid tropical heat came back, which is how you know you are almost done.
Gear That Made the Difference on Rinjani
Not a full packing list, just the things that actually mattered on this trek.
Boots and Gaiters
This is the big one, and I learned it the hard way. I did the trek in the Altra Timp 6, a low-cut trail runner. The summit scree is fine, sharp volcanic gravel, and it got into my shoes on every step, on the way up and especially on the way down. Mid or high boots with a grippy sole, combined with trail gaiters, keep it out and keep your ankles stable on ground that slides. If you are choosing boots for a trek like this, our guide to the best hiking boots for ankle support is a good place to start, and our outdoor footwear guide explains why trail runners and scree are a bad combination.
Trekking Poles
Indispensable, twice. On the summit scree they give you balance and push, and on the descent into the crater they save your knees. If you normally hike without poles, Rinjani is the trek to start using them. Practice with them at home first.
Mine were simple rental poles, and they were not that great. They did the job, but on a trek where the poles carry this much of the work, I would bring my own pair next time: one you know, adjusted to your height, that you trust on a loose descent.
Layers for Heat and Near-Freezing Wind
You go from tropical heat at Sembalun to near-freezing temperatures with severe wind chill at the rim camp and on the summit, all within a day. Bring breathable clothes for the low sections, plus a warm insulating layer, a windproof shell, a hat and gloves for the night and the summit push. Our hiking gear planner lets you plug in exactly this kind of mix of conditions.
Headlamp, Buff, and a Bag for Your Trash
- A headlamp with fresh batteries for the 2:00 AM start
- A buff or bandana against the dust on day 1
- A dedicated bag for all your own trash, carried out to Senaru
- Water: carry 2 to 3 quarts2 to 3 liters on the hot first day; you can top up with bought drinks at some POS stops
Leave No Trace on Rinjani
I want to be honest about this, because it was the one thing that took the shine off the trip. There was a lot of litter at the rim camp and along parts of the trail, and the plastic check at POS 1 was too superficial to change that. Rinjani gets a lot of trekkers, and every one of us adds to the problem or doesn’t. Carry out everything you bring in, ask your operator how they handle the group’s waste, and if you have room, pick up a few pieces on the way down.
Is the Rinjani Trek for You?
If you are fit, comfortable with exposure, and willing to suffer a bit for a sunrise, the 3-day Sembalun to Senaru traverse is one of the best treks I have done. You get savannah, cloud forest, a volcanic summit, a crater lake with a smoking cone, hot springs, and jungle with monkeys, all in three days. Go in with proper boots, gaiters, poles and warm layers, take the altitude and the ridges seriously, and leave the mountain cleaner than you found it.
Planning other big mountain days? Our mountaineering beginners guide covers early alpine starts and pacing, and the hiking calorie calculator shows how much a day like Rinjani’s day 1 really burns.
FAQ
Is the Mount Rinjani Trek 2 Days or 3 Days?
Both exist. A 2-day, 1-night trip goes from Sembalun to the rim, summits, and comes back down the same way. The 3-day, 2-night version I did adds the crater lake, the hot springs and the crossing to the Senaru rim, and ends on the other side of the mountain. If you can spare the extra day, take it: the lake and the view from the Senaru rim were highlights for me, and the extra night lets you recover after the 2 AM summit start.
Can a Beginner Hike Mount Rinjani?
A fit beginner can, but it is a big step up from day hiking. Day 1 is a long climb in heat and dust, the summit push starts at 2 AM on loose scree, and the descent into the crater is very steep. You do not need technical skills, but you do need leg strength, a head for exposed ridges, and the patience to turn around if the altitude or the wind gets to you.
Do You Need a Guide for Mount Rinjani?
Yes. A licensed guide is mandatory on all routes, and treks are booked through operators who also arrange porters, permits, tents and food. Rules and fees have changed several times recently, so confirm the current requirements with your operator and the national park before you go.
Can You Swim in Segara Anak Lake?
No. Swimming in the crater lake is prohibited; the lake is sacred to the local communities. The hot springs next to it are where people soak, and after the summit day that soak is worth the detour.
What Shoes Should I Wear for the Rinjani Trek?
Mid or high hiking boots with a grippy sole, ideally combined with gaiters. The summit scree is fine volcanic gravel that pours into low-cut shoes, and the descents are long and loose. Whatever you wear, make sure it is broken in before the trip, and bring trekking poles.