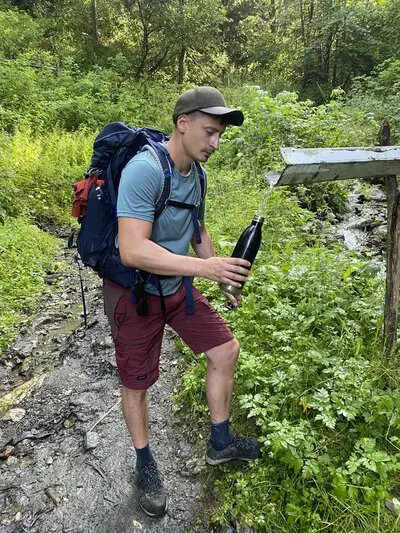
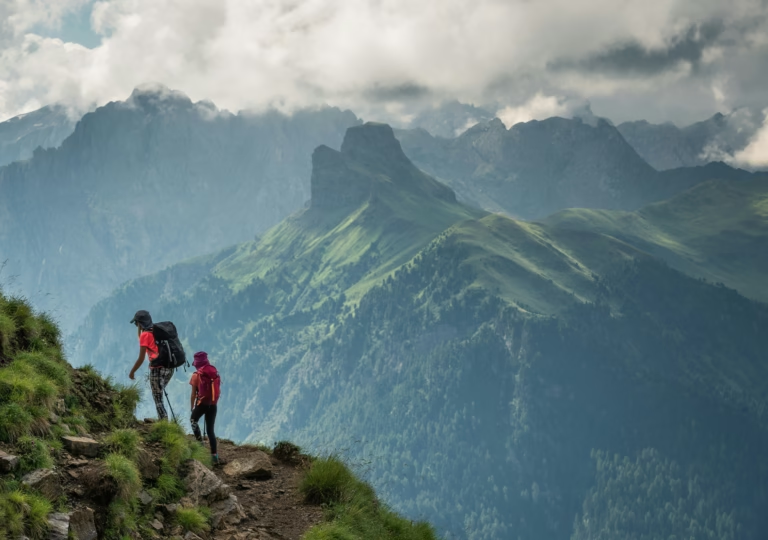
Miles logged, blisters earned, memories made—that’s the hiking life. But staying hydrated on the trail isn’t always sunshine and rainbows.
At moderate altitudes, hikers lose significant water: up to 1.9L daily for men, 850mL for women, plus increased urine output. [1] The real challenge? Finding safe or purifiable water.
Over time, I’ve tested various water purification methods – some fancy, some basic – all in search of the most efficient way to get clean water on long hikes.
This guide is your shortcut. We’ll explore turning murky trail water into safe drinking water, identify unsafe sources, and discuss the best practices to protect water sources.
Boots laced, bottle grabbed? Let’s learn how to decontaminate water on the trail!
Also, check our hydration calculator to know how much water you need while hiking.
What is the Best Way to Purify Water in The Wilderness?
The best way to purify water in the wilderness is through a combination of methods like boiling, filtering, and using water purification tablets. These steps help eliminate harmful bacteria, parasites, and contaminants, ensuring safe drinking water during outdoor adventures.
If you were wondering which water purification methods work best, here are your options:
1. Using Water Filters
Water filters are different from water purifiers through their mechanism. While purifiers rely on chemicals or UV light to kill microorganisms, filters simply sieve them through very fine media. There are 5 types of filters you can use to decontaminate water on the trail:
(a) Pump Filters
These workhorses use manual force to push water through a fine-mesh filter, effectively removing bacteria, protozoa, and even some parasites (think giardia).
I recommend choosing one that has been EPA certified, as they are the only ones to guarantee protection against 99.9999% of waterborne bacteria and 99.9% of protozoa cysts.
I used one for water treatment on my John Muir Trail trek, and even with questionable water, it delivered clean, confidence-boosting hydration.
PROS
CONS
(b) Gravity Filters
If you are not a big fan of manual work, this option utilizes gravity to pull water through a filter media, like activated carbon or ceramic elements.
Think of it as setting up a mini waterfall in your campsite, with clean water collecting at the bottom. Remember using one on a Yosemite backpacking trip – it was the easiest way to purify water! Fill, hang, relax, and enjoy clean water without breaking a sweat.
PROS
CONS
(c) Bottle Filters
One of the simplest ways to clean water is to screw a bottle filter onto a disposable water bottle, transforming it into a mini filtration system. Simply dip the bottle in your water source and sip away – but be mindful of the source itself!
PROS
CONS
(d) Squeeze Filters
Like pump filters, these models use muscle power, but in a different way. You fill a bag of water and then squeeze it every time you need a sip. This way, you force water through a fine mesh, trapping nasty bacteria, protozoa, and sometimes even parasites.
PROS
CONS
(e) Straw-style Filters
These are essentially straws with built-in filters. Simply dip the straw in your water source and sip. They’re ideal for quick hydration on short hikes or with relatively clean water.
PROS
CONS
2. Using Water Purifiers
While filters are great for tackling bacteria and protozoa, sometimes you need a heavier weapon in your water treatment arsenal. Enter water purifiers, designed to eliminate virtually all waterborne threats, from viruses to chemicals.
(a) Chemical Purifiers
They typically use chlorine dioxide or iodine tablets to kill microorganisms and are effective against a wide range of waterborne pathogens. For me, chlorine tablets were a lifesaver on a multi-day trek in Nepal, where clear water sources were scarce.
I really appreciated the peace of mind they provided despite the slightly medicinal aftertaste.
PROS
CONS
(b) Ultraviolet (UV) Purifiers
These purifiers use UV radiation to disrupt the DNA of microorganisms, rendering them inactive.
PROS
CONS
3. By Boiling Water
Among the natural ways to purify water, boiling is a tried-and-true method that requires no fancy gadgets, just a pot and a heat source.
Now, I’m not saying it’s always the most convenient option, but for its reliability and effectiveness, it deserves a spot in every adventurer’s toolkit.
Here’s the lowdown on boiling:
- Find your heat source: Whether it’s a camp stove, a campfire, or even collected wood, ensure it’s reliable and strong enough to boil water.
- Fill your pot: At higher altitudes, you need to boil for longer durations, so factor that in when choosing the amount.
- Bring it to a rolling boil: This means visible, sustained bubbles throughout the water, not just around the edges. Aim for:
- 1 minute at or below 6,500 feet (1,981 meters)
- 3 minutes above 6,500 feet (1,981 meters)
4. Let it cool: Patience is key! Don’t guzzle scalding water. Store it in a clean container and wait until it cools to a safe drinking temperature.
PROS
CONS
Bonus Tip: If you’re unsure about the water source’s cleanliness, consider adding purification tablets after boiling for extra peace of mind. Remember, safety first!
References:
- https://www.mdpi.com/1660-4601/20/4/3186
- https://www.mayoclinic.org/diseases-conditions/giardia-infection/symptoms-causes/syc-20372786
- https://www.who.int/news-room/fact-sheets/detail/drinking-water


