Your hiking boots might’ve started off waterproof, but that shield wears off after a while.
In the case of Gore-Tex hiking shoes allowing water penetration, it likely signifies irreparable damage. While spraying may provide some defense against minor external wetness, it won’t effectively address leaks.
When only the outer fabric becomes wet, while your feet remain dry, it’s a clear indication that the Durable Water Repellent (DWR) coating is wearing off.
To rejuvenate it, you can utilize products such as Nikwax. Reapplying DWR not only revitalizes water resistance but also upholds the overall quality of the shoes and enhances breathability.
Neglecting this can shorten your boots’ lifespan. Over the years, I’ve experimented with various waterproofing methods, and the right product depends on your boots’ material.
Read until the end to uncover all the waterproofing techniques I’ve learned over the past 11 years.
How To Correctly Waterproof Your Boots For Hiking (Step-by-Step)
| Step | Description |
|---|---|
| 1. Consider the Boot Material | Choose a waterproofing product based on the material of your boots (full-grain leather, fabric, suede, nubuck, synthetic, nylon). |
| 2. Properly Clean Your Boots | Remove laces and insoles, brush off dirt, clean with a specialized boot cleaner or mild soap solution, and rinse thoroughly. |
| 3. Apply The Waterproofing Treatment | Apply the waterproofing product to damp boots. Use wax or cream for leather and synthetic boots, and spray for nubuck and suede. Warm the wax with a hairdryer for even application. Pay special attention to seams. |
| 4. Dry Your Boots | Let the boots air dry in a cool, dry place away from direct heat or sunlight. Avoid using heat sources as they can damage the boots. A boot dryer or cool fan can be used to speed up drying. |
1. Consider the Boot Material
When deciding how to waterproof your boots, consider what they’re made of. Materials like full-grain leather, fabric, suede, and nubuck each need different waterproof treatments.
For boots made of full-grain leather, waxy creams or products are the best choices. Suede and nubuck boots work well with these kinds of waxy waterproofers, too.
For boots made with synthetic materials or nylon, like those with Gore-Tex, it’s best to use waterproofing sprays. Some creams might work for synthetics, but they’re often harder to apply properly.
2. Properly Clean Your Boots Before Starting

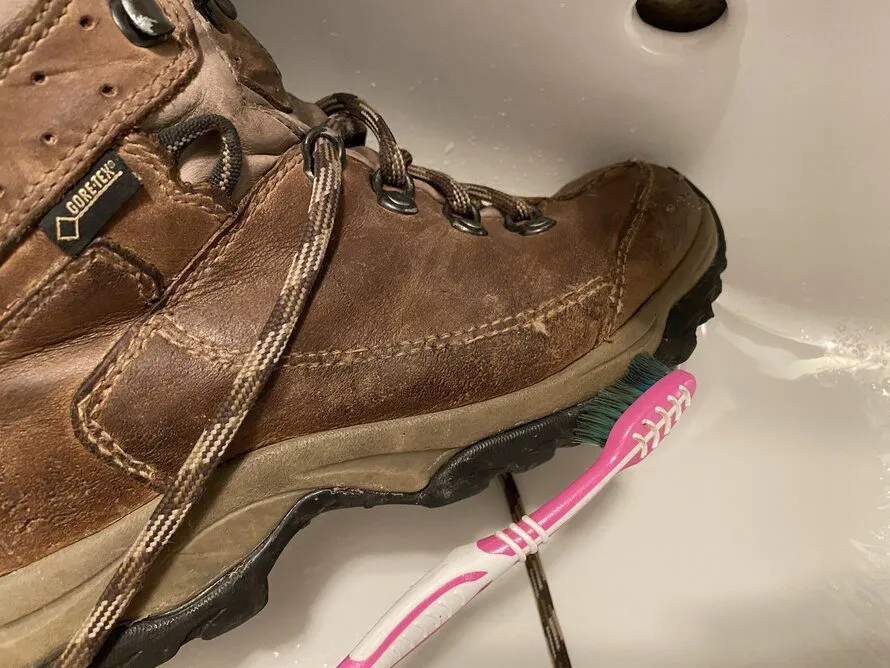
To thoroughly clean your hiking boots, remove the laces and insoles, then brush off loose dirt with a soft brush.
Utilize a specialized boot cleaner to clean your boots, and from time to time, employ a mild soap solution to eliminate body oils and salts from the interior.
Effective specialized boot cleaners like Nikwax Footwear Cleaning Gel, Granger’s, and Gear Aid products are readily available.
Exercise caution by refraining from using soap or alternative cleaning agents on the outer surface of the boots.
Ensure thorough rinsing, and consistently adhere to the care and cleaning guidelines outlined by the boot manufacturer.
3. Apply The Waterproofing Treatment

Once you’ve cleaned your boots, apply the waterproofing treatment while they are still damp.
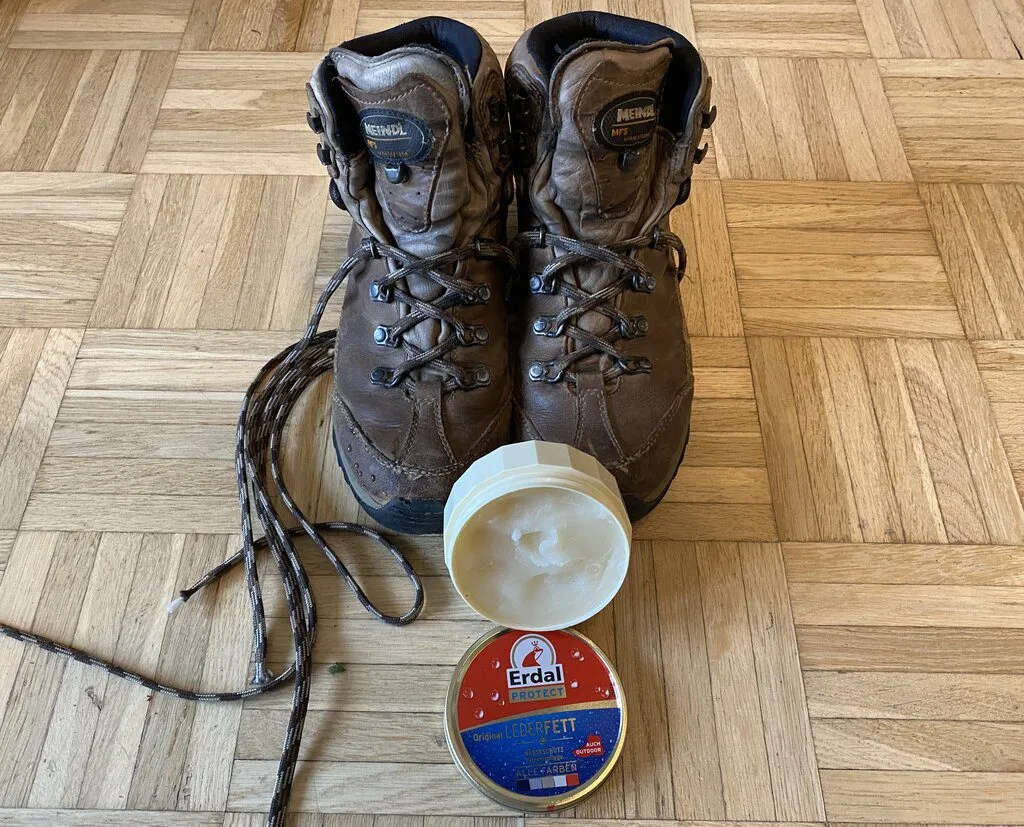
For both leather and synthetic boots, employ a wax or cream product to treat the entire boot. When using wax-based products, it’s advisable to warm the wax with a hairdryer before application. This softens the wax and ensures a more even coat.
Alternatively, you can use a product like Nikwax Fabric & Leather Proof, spraying it from a distance of 5 cm. Allow it to sit for two minutes, ensuring even coverage, with particular attention to seams and areas susceptible to water ingress.
When dealing with nubuck and suede leather boots, opt for a spray such as Nikwax Nubuck & Suede Proof, as it offers easier application compared to traditional wax. Follow the same steps outlined earlier, which are applicable to both fabric and leather boots.
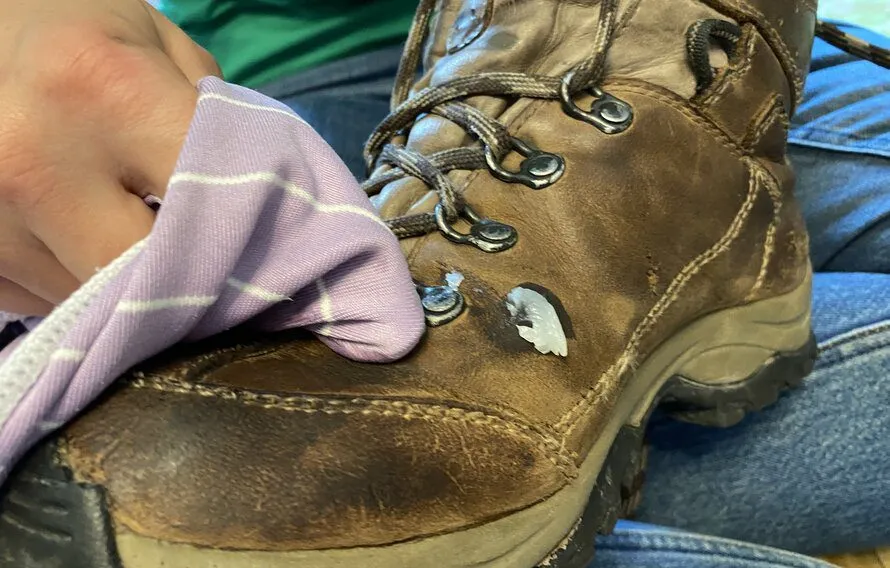
After waterproofing your hiking boots, utilize a clean cloth to buff them and remove any excess product. This step is particularly crucial for leather boots, as it enhances their shine.
4. Dry Your Boots
The best way to dry hiking boots is to let them air dry. Find a cool, dry place with low humidity and either hang them or set them there.
Make sure to keep your boots away from any heat source, such as a radiator, and don’t leave them out to dry in the sun.
Heat can ruin your boots, especially leather boots, and will make them deteriorate faster. It’s okay to use a special boot dryer or a cool fan to help speed up the drying time.
FAQs
You should waterproof your hiking boots when you observe that they no longer keep your feet dry or that the water doesn’t bead on the boot’s surface as it should. These signs indicate a malfunctioning waterproof membrane.
To maintain your boot’s waterproof finish and ensure dry feet for future hikes, keep your hiking boots free from dirt and grime and apply waterproofing products as needed.
To test the integrity of the waterproof membrane, remove the inner sole and fill the boots with water. If the waterproof membrane is intact, water should not leak out. However, if water seeps out within 10-15 minutes, it indicates a waterproofing issue with the boots.


